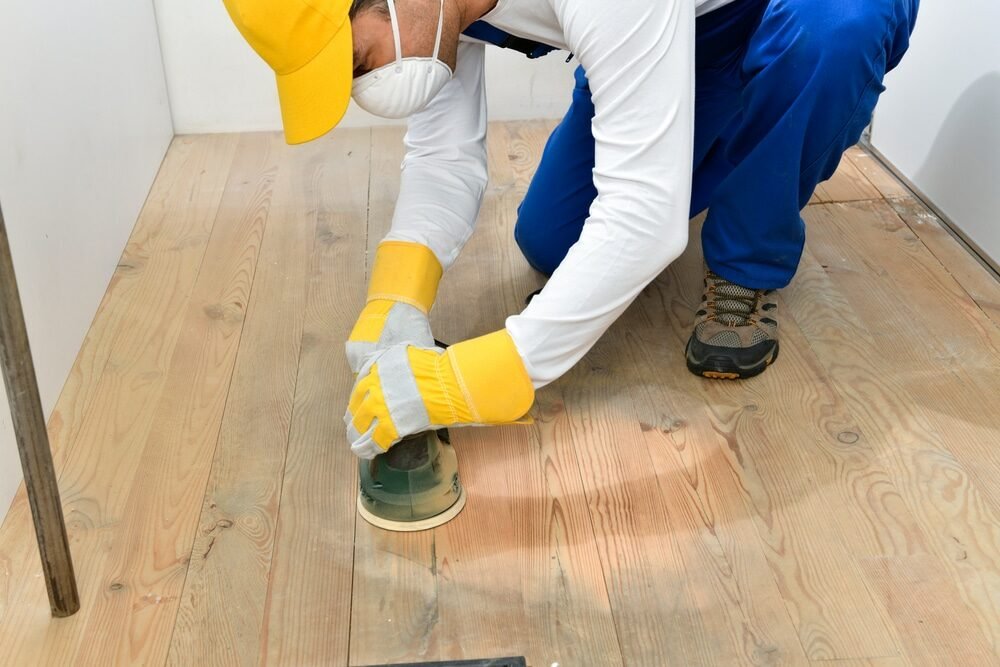
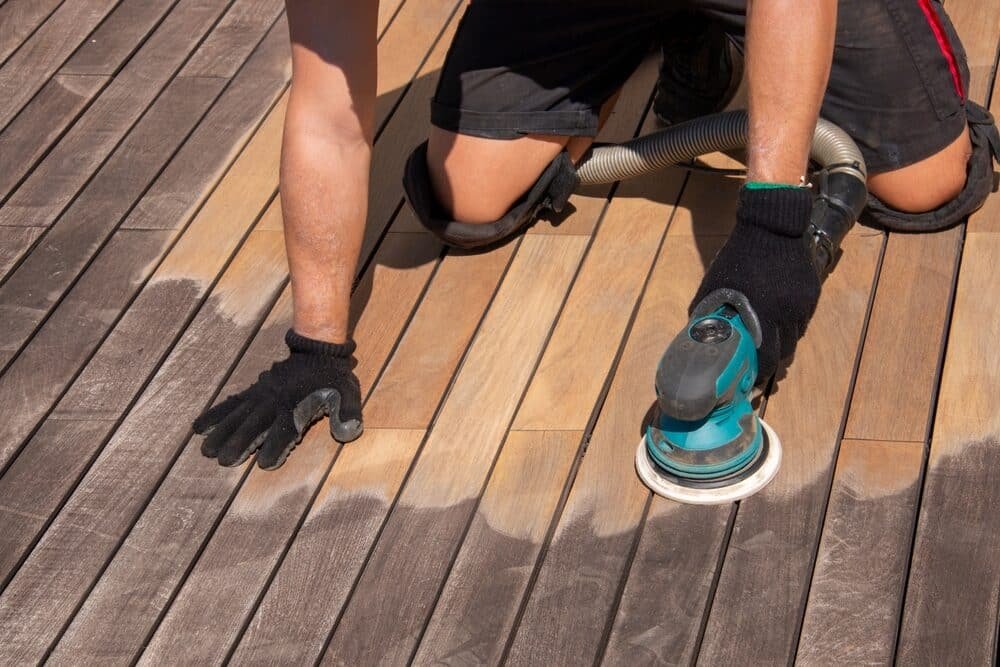
When it comes to maintaining or refinishing wood floors, an orbital sander can be one of your best friends. This versatile tool is designed to help you achieve a smooth, even finish without the risk of damaging the wood, making it ideal for both beginners and seasoned DIYers. However, to get the most out of your orbital sander and ensure a flawless finish, you should keep some essential tips and techniques in mind. In this article, we’ll explore five crucial tips for using an orbital sander on wood floors.

1. Choose the Right Orbital Sander & Grit Sandpaper
One of the most critical factors when using an orbital sander on wood floors is selecting the right grit sandpaper. The grit refers to the size of the particles on the sandpaper, which impacts how aggressively the sander removes material. Here’s a simple guideline to help you choose:
- Coarse Grit (40-60): Use coarse grit for heavy sanding jobs, such as removing old finishes or deep scratches. This grit will quickly remove material but may leave visible scratches, so it’s best used only at the start of the sanding process.
- Medium Grit (80-120): This grit is perfect for leveling the surface and preparing it for finishing. After using coarse grit, switch to medium grit to refine the surface and eliminate any scratches from the coarser sandpaper.
- Fine Grit (150-220): Use fine grit for the final sanding before applying your finish. This grit will create a smooth surface that enhances the overall appearance of your wood floor.
By starting with the appropriate grit sandpaper on your orbital sander, you can ensure a successful sanding process that prepares your wood floors for a beautiful finish.

2. Use Proper Techniques for Sanding
The technique is vital for achieving the best orbital sander results. Here are some tips to keep in mind:
- Keep It Moving: Unlike belt sanders, orbital sanders are designed for circular use. Avoid keeping the sander stationary in one spot, as this can create uneven surfaces or gouges. Instead, move the sander smoothly across the wood, overlapping each pass slightly to ensure even sanding.
- Don’t Apply Too Much Pressure: Let the orbital sander work for you. Applying excessive pressure can cause uneven sanding and may damage the wood. Instead, hold the sander firmly but gently, allowing its weight to provide the necessary pressure for effective sanding.
- Follow the Grain: Always sand in the direction of the wood grain. Sanding against the grain can lead to scratches that are difficult to remove, diminishing the appearance of your finished floor.
By mastering these techniques, you can make the most of your orbital sander and achieve a smooth, professional-looking finish on your wood floors.

3. Prepare Your Workspace
Preparing your workspace before you start sanding is essential for a successful project. Here’s how to create a conducive environment for using an orbital sander:
- Clear the Area: Remove any furniture, rugs, or obstructions from the floor to provide ample space for sanding. This will help you work efficiently and avoid accidents.
- Inspect the Floor: Before you begin, check your wood floor for any loose boards, nails, or other hazards. Ensure that everything is securely fastened to prevent damage while sanding.
- Seal Off Other Areas: Sanding can create a significant amount of dust. Use plastic sheeting to seal off doorways and vents to keep dust from spreading to other parts of your home.
- Wear Protective Gear: Safety should always be a priority. Wear a dust mask, goggles, and ear protection to shield yourself from dust and noise generated by the orbital sander.
With a well-prepared workspace, you can focus on the task and achieve the best results possible.

4. Maintain Your Orbital Sander
Maintaining your orbital sander is crucial for ensuring its longevity and effectiveness. Here are some maintenance tips to keep in mind:
- Regularly Check the Sandpaper: Inspect it for wear and replace it as needed. Using worn sandpaper can lead to uneven sanding and may require more effort to achieve the desired finish.
- Keep the Sander Clean: Dust and debris can accumulate in the orbital sander, affecting its performance. After each use, clean the sander to remove any dust and particles. A soft brush or cloth can help with this.
- Check for Damage: Inspect your orbital sander for any signs of damage or wear, especially the power cord and housing. Address any issues promptly to avoid safety hazards.
By keeping your orbital sander in good condition, you ensure that it operates efficiently and effectively, helping you achieve the best possible results on your wood floors.

5. Finish with the Right Product
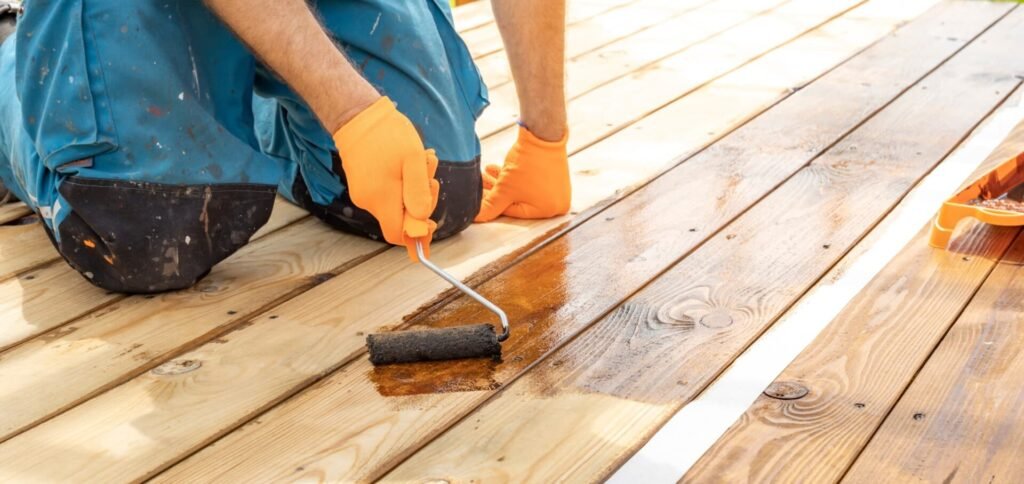
Once you’ve done sanding your wood floors to perfection, it’s time to finish the job. Choosing the right finish is essential for enhancing the beauty of the wood and protecting it from wear and tear. Here are some popular options:
- Polyurethane: This is one of the most durable finishes available. It comes in both water-based and oil-based varieties. Water-based polyurethane dries quickly and has lower odors, while oil-based finishes provide a warm, amber tone but take longer to dry.
- Varnish: Varnish offers excellent protection and a glossy finish. It’s suitable for high-traffic areas and can enhance the wood’s natural beauty.
- Oil Finish: If you prefer a more natural look, oil finishes penetrate the wood and provide a low-sheen finish. They require regular maintenance but are easy to apply.
After applying the finish, allow it to cure properly before walking on the floors. This will help ensure a long-lasting and beautiful result.

Conclusion
Using an orbital sander on wood floors can transform the appearance of your space, making it look fresh and new. By following these five tips—choosing the right grit sandpaper, employing proper sanding techniques, preparing your workspace, maintaining your sander, and finishing with the right product—you can achieve professional results in your home. With the right approach and tools, your wood floors will shine and withstand the test of time. Happy sanding!
In conclusion, mastering an orbital sander is essential for anyone looking to revitalize their wood floors. The benefits of using this tool extend beyond just aesthetics; it also helps preserve the integrity of your flooring by removing old finishes, scratches, and imperfections. By employing the right techniques and following our tips, you can confidently tackle wood floor sanding projects, whether for maintenance or complete refinishing. Remember that patience and precision are key—taking your time will yield the best results.
Additionally, investing in quality materials and tools can enhance your sanding experience. A good orbital sander not only makes the job easier but also ensures a more uniform finish. Don’t forget to prioritize safety and cleanliness during your project to create a conducive working environment. With the right approach and care, your newly sanded wood floors will not only look stunning but will also provide a warm, inviting atmosphere for years to come. Embrace the journey of transforming your space with the power of an orbital sander!
