Wood floors are a stunning addition to any home. They bring warmth, elegance, and a natural aesthetic that other flooring types often can’t match. However, to maintain their beauty, cleaning them properly is essential. Mopping is one of the most important maintenance tasks, but doing it incorrectly can lead to damage, dullness, or even warping. However, with the right technique and tools, mopping with the perfect mop can keep your hardwood floors looking pristine for years.
This comprehensive guide will explore expert tips on effectively mopping wood floors, ensuring they remain in excellent condition. Whether you’re new to wood floor care or simply looking to enhance your routine, these five expert tips will give you the knowledge and confidence to mop your wood floors like a pro.
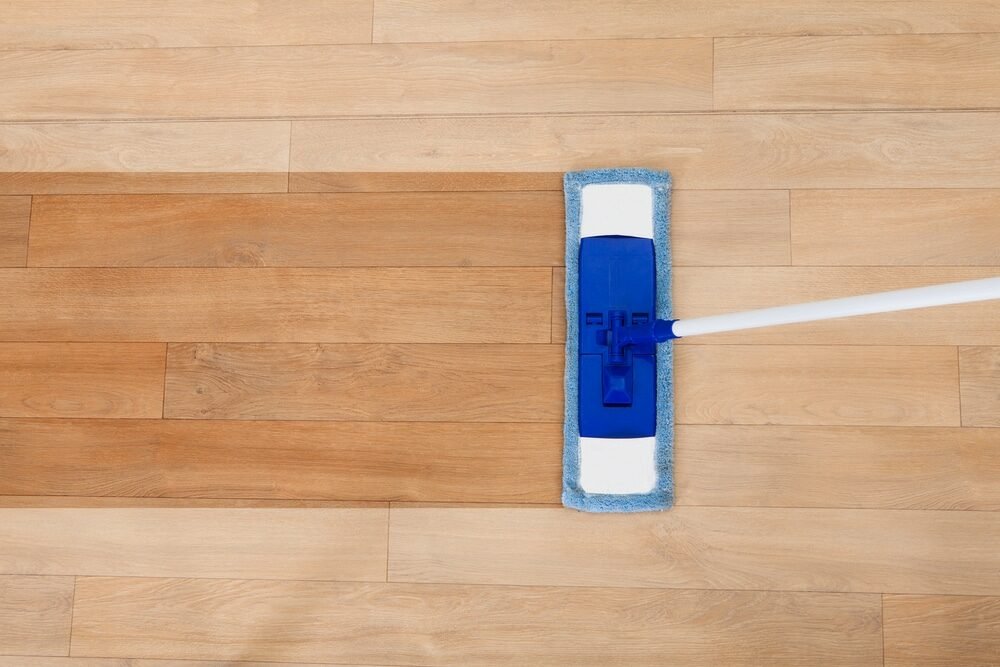
Table of Contents

Tip 1: Choose the Right Mop for Wood Floors
The first step to mopping your wood floors properly is selecting the right mop. Not all mops are suitable for hardwood surfaces, and choosing the wrong one can result in damage or poor cleaning performance. Here’s what experts recommend when it comes to selecting a mop for your wood floors:
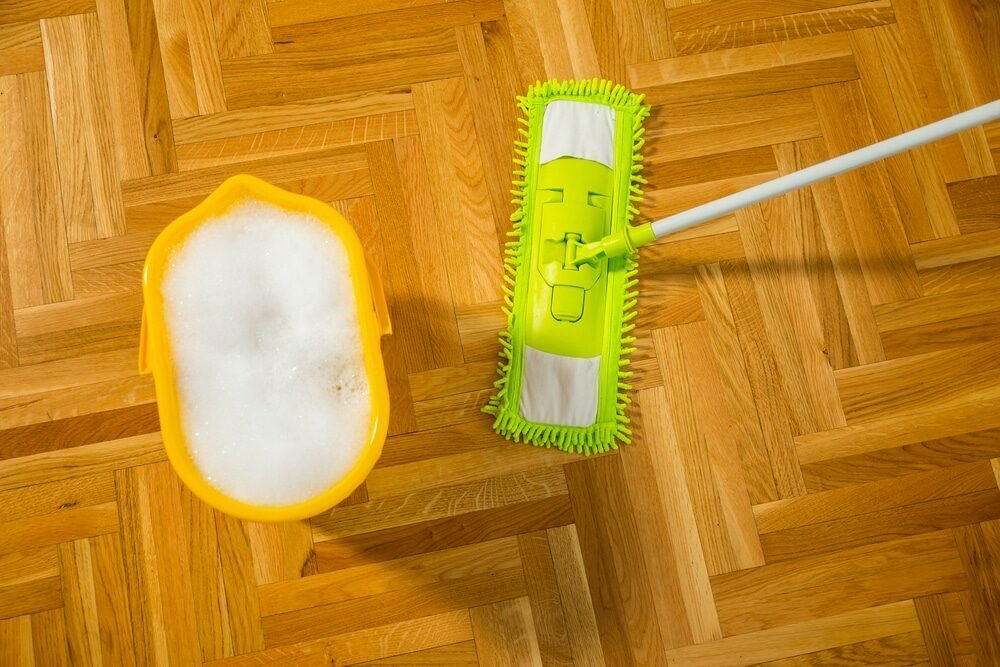
a) Microfiber Mops: Gentle and Effective
Microfiber mops are often the top choice for cleaning wood floors because of their gentle, non-abrasive texture. The microfiber material is highly effective at trapping dirt, dust, and debris without scratching the wood’s surface. Additionally, microfiber mops typically use less water, which is crucial for wood floors, as excessive moisture can cause damage over time.
Microfiber mops come in various forms, including flat, spray, and mop pads attached to mop heads. Flat microfiber mops are particularly popular for wood floors because they are lightweight, easy to manoeuvre, and can reach tight corners.

b) Avoid String Mops and Sponge Mops
Traditional string mops and sponge mops are less suitable for wood floors. String mops can hold too much water, leading to over-wetting the floor, while sponge mops may push dirt around rather than trap it effectively. These mops are better suited for tile or vinyl floors, where water absorption is less of a concern.
c) Spray Mops for Convenience
If you prefer a mop that combines mopping and spraying, consider a spray mop designed for wood floors. These mops feature built-in spray mechanisms that dispense a controlled cleaning solution as you mop. This helps you avoid excessive water usage while maintaining clean and streak-free floors.
A microfiber mop is your best bet for mopping wood floors. It’s gentle, efficient, and designed to keep your floors looking their best without causing damage.

Tip 2: Use the Right Cleaning Solution
The cleaning solution you use on your wood floors is as important as the mop you choose. Many household cleaners contain chemicals that can damage wood finishes, strip away protective coatings, or leave behind unsightly residue. Here’s what experts recommend for selecting the right cleaning solution for wood floors:
a) Avoid Harsh Chemicals
Wood floors are sensitive to harsh chemicals like ammonia, bleach, and abrasive cleaners. These chemicals can cause discolouration and dullness and damage your floors’ protective finish. Instead, opt for wood-safe cleaners specifically formulated for hardwood or engineered wood surfaces.
There are many gentle yet effective wood floor cleaning solutions available on the market. Look for pH-neutral cleaners that won’t harm the wood’s finish. Some popular brands, such as Bona and Method, offer wood-specific cleaners that are safe for regular use.
b) DIY Cleaning Solution
If you prefer to make your own cleaning solution at home, a simple mixture of water and vinegar can be an effective option. Mix one part white vinegar with ten parts water for a gentle yet powerful cleaner. Be cautious with vinegar, as it is acidic and should only be used in diluted form. Avoid using too much, and never apply it directly to the floor. Always dampen your mop or cloth before using the solution.
Another DIY option is to use a small amount of dish soap mixed with water. This can help break down grease and grime but use a mild soap and avoid leaving any soapy residue behind.
c) Minimal Water is the Key
The biggest mistake people make when mopping wood floors is using too much water. Wood is porous and absorbs moisture, leading to swelling, warping, and long-term damage. Always wring out your mop thoroughly to ensure it’s damp but not soaking wet when mopping wood floors.
Additionally, avoid pouring water directly onto the floor. Instead, spray a fine mist of cleaning solution or dampen your mop pad. Less water is better when cleaning wood floors; experts agree that dry or nearly dry mopping is preferable.

Tip 3: Follow the Proper Mopping Technique
Even with the right tools and cleaning solution, your mopping technique can significantly affect the outcome. Using improper mopping methods can result in streaks, missed spots, or, worse, damage to your wood floors. Follow these expert-approved techniques to mop wood floors effectively:
a) Dust or Sweep Before Mopping
Before you begin mopping, removing loose dirt, dust, and debris from the floor is essential. Sweeping with a soft-bristle broom or using a microfiber dust mop will help prevent scratching the surface while mopping. You can also use a vacuum cleaner with a hardwood floor attachment to suck up any dust and dirt.
Skipping this step can spread dirt across the floor during mopping, making it harder to achieve a clean, polished finish. By dusting first, you’ll ensure the mop can focus on cleaning any remaining grime or spills rather than moving dirt around.
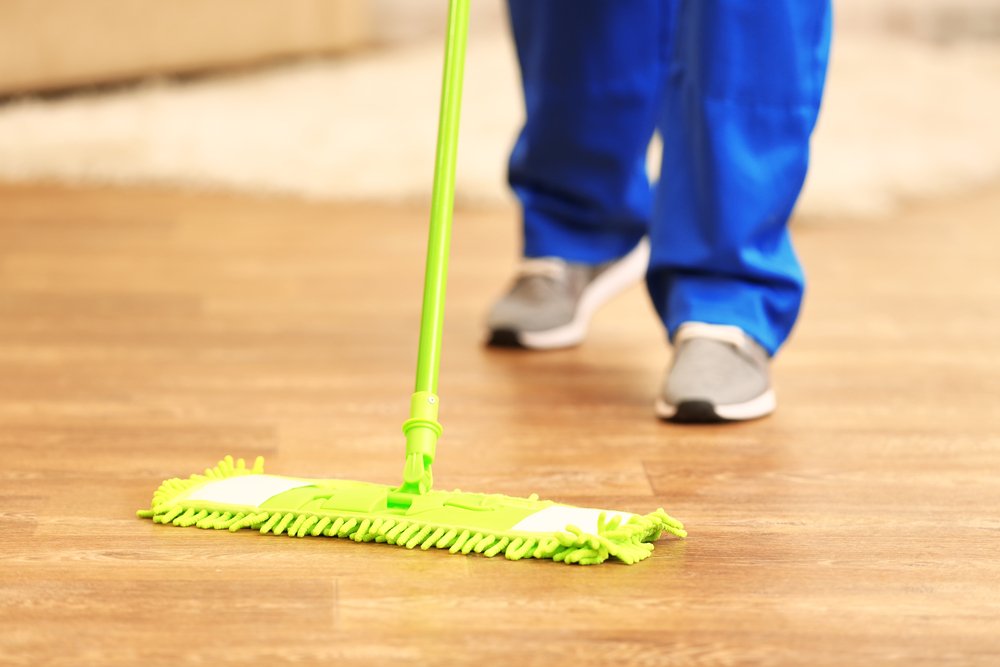
b) Mop in the direction of the Grain
Wood floors have a natural grain pattern, and mopping along the grain helps ensure a more thorough and streak-free clean. Mopping against the grain can cause streaks or leave dirt behind in crevices. As you mop, move your mop head in straight lines that follow the grain of the wood for a smooth and polished finish.
If your floors are particularly dirty, you can mop in a figure-eight motion to lift more grime but always finish with strokes that follow the grain to avoid streaks.
c) Work in Small Sections
To prevent water from sitting on the wood too long, mop your floor in small sections. This will allow you to quickly clean and dry each area, reducing the risk of water damage. Start from one corner of the room and work toward the exit to avoid walking on freshly cleaned sections.
By mopping in small sections, you’ll also have better control over the amount of water or cleaning solution you use, which helps minimize the risk of overwetting the wood.
d) Wipe Dry After Mopping
After mopping each section, take a clean, dry microfiber cloth or mop pad and go over the area to absorb any excess moisture. This step is crucial to prevent water from sitting on the wood, which can cause long-term damage. Drying your floors immediately after mopping helps preserve their finish and shine.
Tip 4: Protect Your Wood Floors After Mopping
Once your wood floors are clean, protecting them from future damage is important. Proper maintenance and protection can help extend the life of your wood floors and reduce the frequency of deep cleaning. Here are a few expert tips on how to care for your wood floors after mopping:
a) Use Furniture Pads
Furniture can scratch or dent wood floors, especially if moved frequently. Attach scotch felt pads to the bottom of the furniture legs to prevent this. These pads create a buffer between the furniture and the floor, reducing the risk of scratches and scuffs.
Check the furniture pads regularly to ensure they are clean and in good condition. Dirt can accumulate on them over time, potentially causing scratches.

b) Place Area Rugs and Mats
High-traffic areas, such as entryways, hallways, and kitchens, are more prone to wear and tear on wood floors. Placing area rugs and mats in these spaces can help protect the wood from dirt, moisture, and heavy foot traffic.
Be sure to choose rugs with non-slip backings to prevent them from sliding or shifting. Avoid rubber-backed mats, as they can trap moisture and discolour the wood.

c) Regularly Dust and Vacuum
To keep your wood floors looking their best, dust or vacuum them regularly to prevent dirt and debris from accumulating. Even small particles of dust can act like sandpaper, gradually wearing down the finish of your floors.
A microfiber dust mop or a vacuum cleaner with a soft-bristle attachment is ideal for daily cleaning. Regular maintenance will reduce the need for frequent mopping and help your floors maintain their shine.
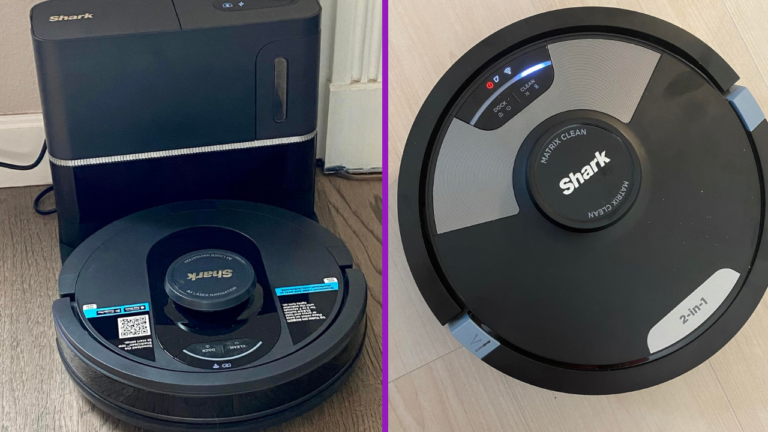
** Buy the best vacuum cleaner for your home **

d) Monitor Humidity Levels
Wood is sensitive to changes in humidity, and extreme fluctuations can cause it to expand or contract, leading to warping or gaps between planks. To protect your wood floors, maintain a stable indoor humidity level between 30% and 50%. Using a Cool Mist Humidifier or dehumidifier can help regulate the humidity in your home.
In particularly dry climates, adding moisture to the air can prevent wood floors from drying out and cracking, while in humid climates, reducing excess moisture can prevent swelling and warping.
** Buy The Best Humidifier For Your Bedroom **

Tip 5: Know When to Refinish or Recoat Your Wood Floors
Even with regular cleaning and maintenance, wood floors may eventually show signs of wear and tear. Scratches, dullness, and fading are common issues that can develop over time. It may be time to refinish or recoat your wood floors to restore their original beauty when this happens.
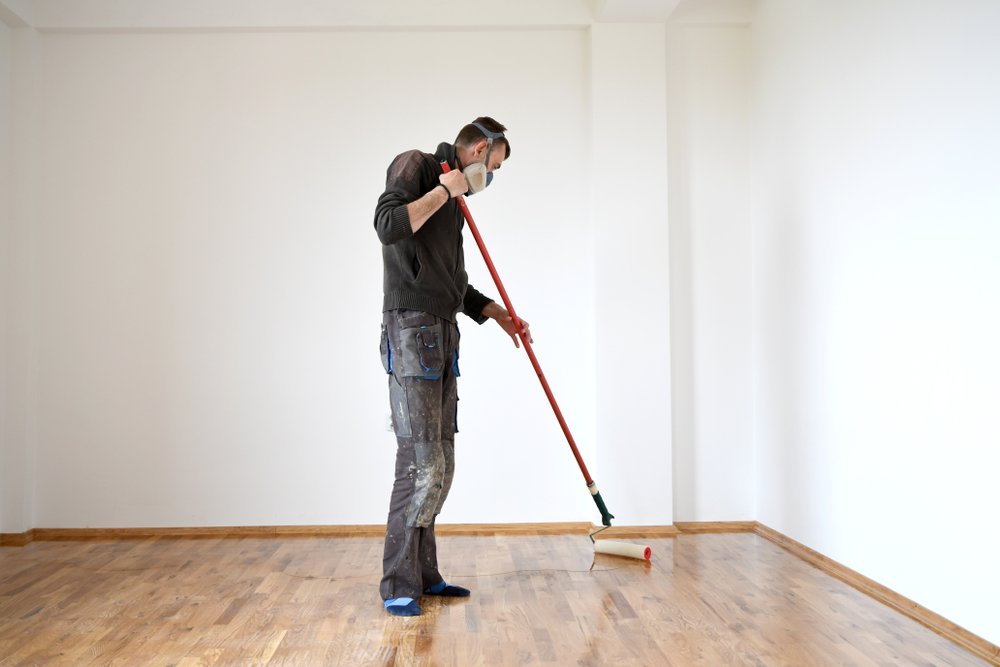
a) Recoating vs. Refinishing
Recoating involves applying a new finish layer to your wood floors without sanding them to the bare wood. This process suits floors with surface-level scratches or wear but isn’t severely damaged. Recoating can help extend the life of your floors and restore their shine without needing full refinishing.
Refinishing involves sanding the floors to the bare wood and applying a new stain or finish. This process is necessary for floors with deep scratches, water damage, or significant wear. While refinishing is more labour-intensive and costly, it can completely revitalize your wood floors and give them a fresh look.
b) How Often Should You Refinish or Recoat?
The frequency of refinishing or recoating depends on the level of traffic in your home and how well you’ve maintained your floors. High-traffic areas may need refinished every 5 to 7 years, while less-used rooms may go 10 years or more without refinishing.
Recoating can be done more frequently, typically every 3 to 5 years, to maintain the finish and protect the wood from deeper damage.

Conclusion: Keep Your Wood Floors Pristine with Expert Care
Mopping wood floors may seem simple, but following the right steps and using the proper tools can make all the difference in preserving their beauty and longevity. By choosing the right mop, using a wood-safe cleaning solution, employing the proper technique, protecting your floors, and knowing when to refinish or recoat, you’ll ensure that your wood floors remain in excellent condition for years.
With these five expert tips, you can confidently clean and maintain your wood floors, keeping them polished and beautiful with minimal effort. Remember, regular care and attention are key to maintaining wood floor’s natural elegance and durability. Happy cleaning!