Understanding Hardwood Floor Sanding
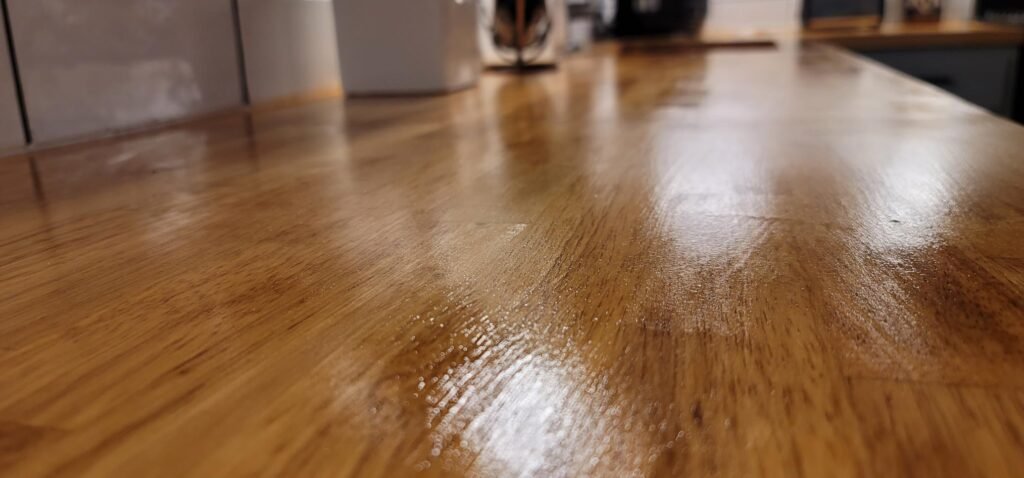
Sanding hardwood floors removes the top layer of wood to eliminate imperfections, scratches, and stains, revealing a fresh, smooth surface ready for finishing. This process enhances the floor’s appearance and extends its lifespan by addressing wear and tear.
Restoring the natural beauty of your hardwood floors can breathe new life into your home, enhancing both its aesthetic appeal and value. One of the most effective ways to achieve this transformation is by sanding your hardwood floors. Whether you’re a seasoned DIY enthusiast or a homeowner tackling your first project, this comprehensive step-by-step guide will walk you through the entire sanding process, highlighting essential tools and pro tips to ensure a flawless finish.

Why Sand Your Hardwood Floors?
- Restoration: Revive old, worn-out floors without the expense of replacement.
- Aesthetic Enhancement: Achieve a smooth, uniform surface highlighting the wood’s natural beauty.
- Increase Home Value: Well-maintained hardwood floors are desirable for potential buyers.
- Health Benefits: Removing accumulated dust and allergens improves indoor air quality.

When to Sand Your Hardwood Floors
Determining the right time to sand your floors is crucial. Here are some indicators that it’s time for sanding:
- Visible Scratches and Scuffs: Deep or widespread scratches that cannot be removed with cleaning.
- Dull Appearance: The floor lacks its original shine and vibrancy.
- Stains and Discoloration: Persistent stains that surface cleaning cannot eliminate.
- Flooring Resilience: The wood feels rough or splintered to the touch.
- Change in Home Style: Remodeling or redecorating that requires a fresh floor look.
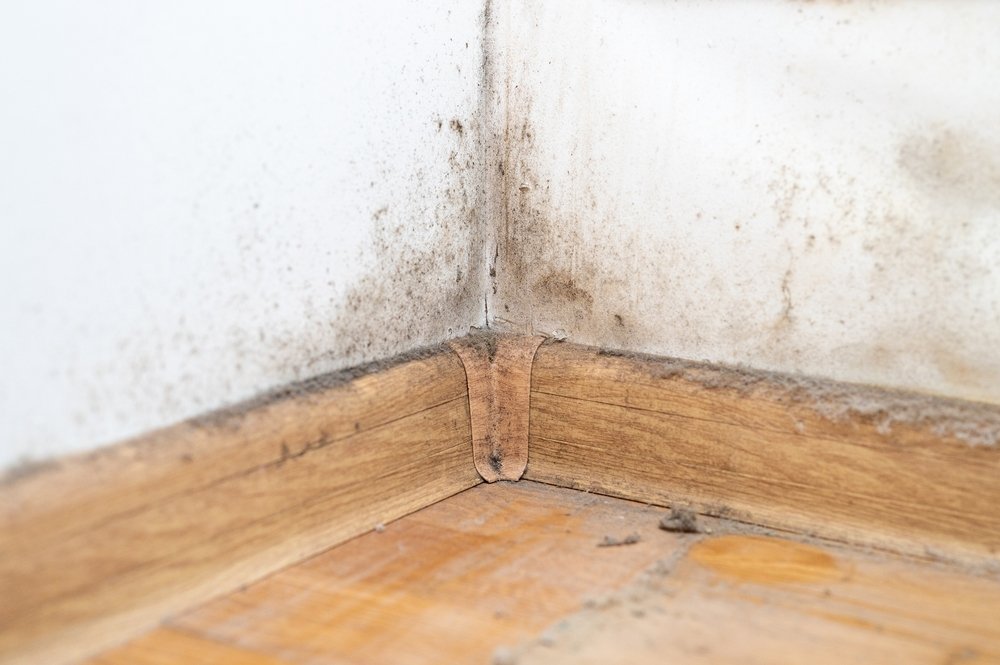
Essential Tools and Materials
Having the right tools is essential for a successful sanding project. Here’s a list of what you’ll need:
1. Floor Sander
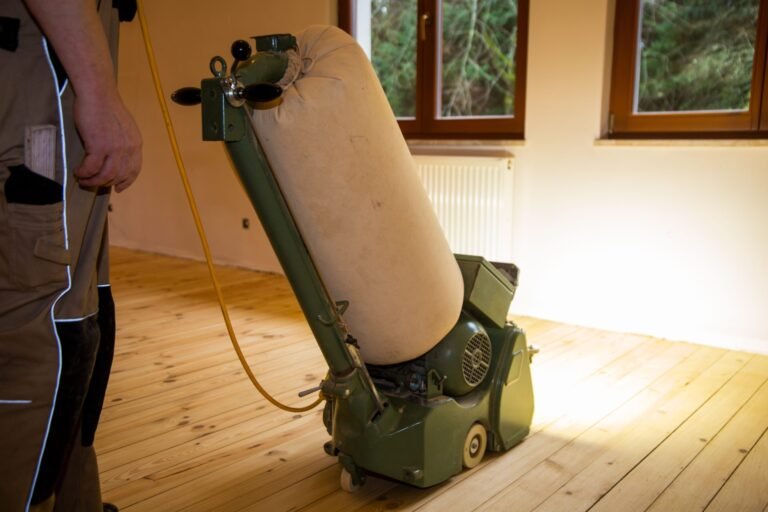
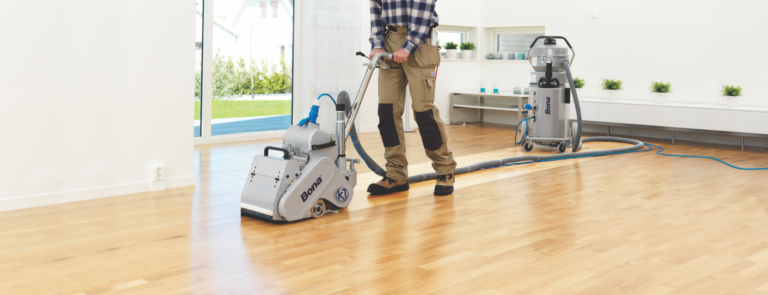
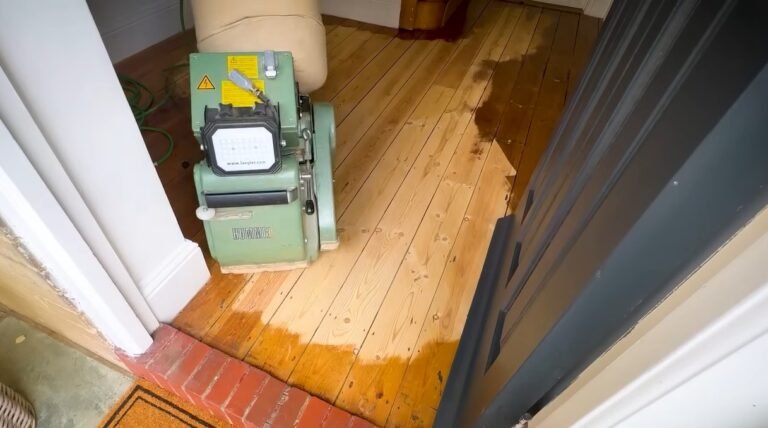
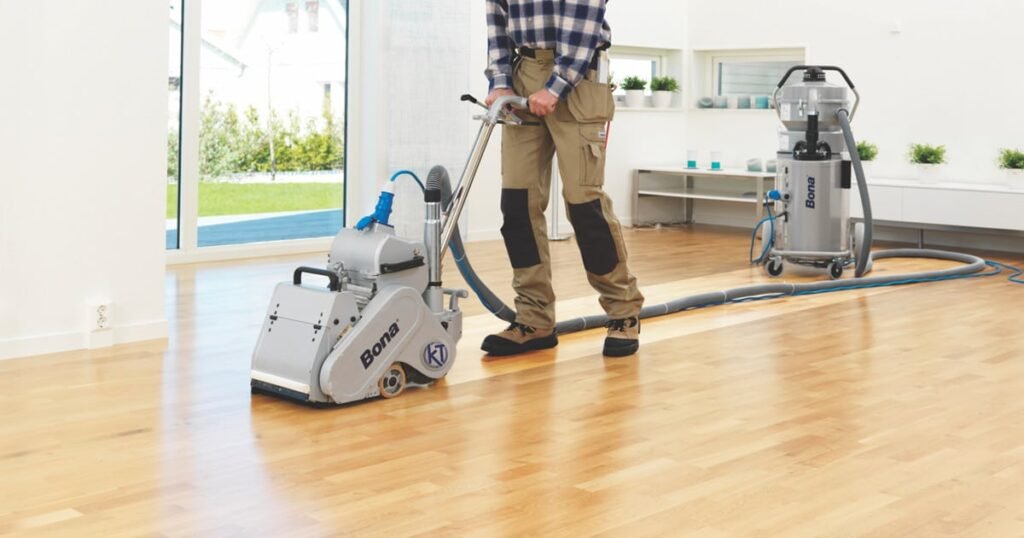
- Drum Sander: Ideal for removing the finish and leveling the floor.
- Edge Sander: Perfect for sanding corners and edges where the drum sander can’t reach.
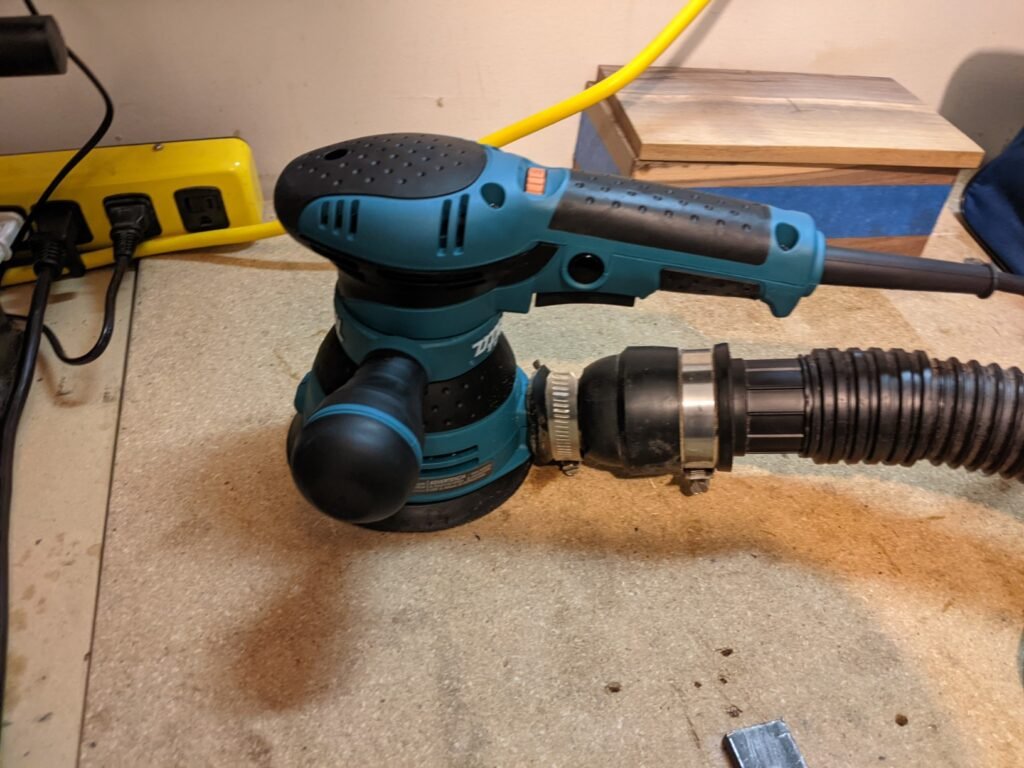

2. Sandpaper
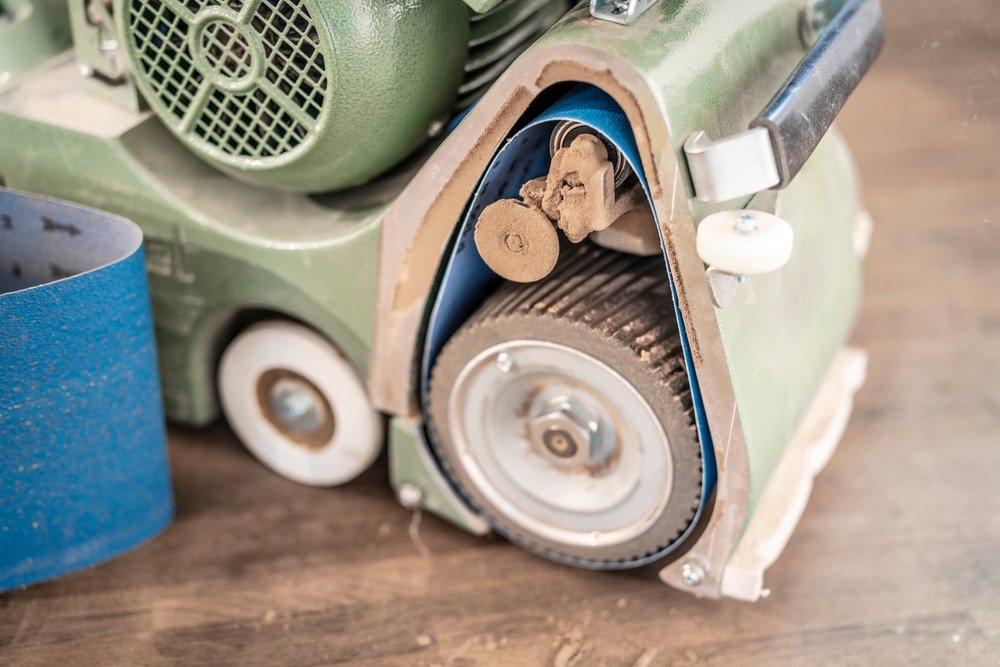
- Coarse Grit (36-40): For initial sanding and removing old finishes.
- Medium Grit (60-80): This smooths the surface after the initial sanding.
- Fine Grit (100-120): For the final sanding before finishing.

3. Buffers and Scrapers
- Buffing Machine: This is used to smooth the floor post-sanding.
- Hand Scrapers: To remove stubborn finish or residue.

4. Dust Collection System
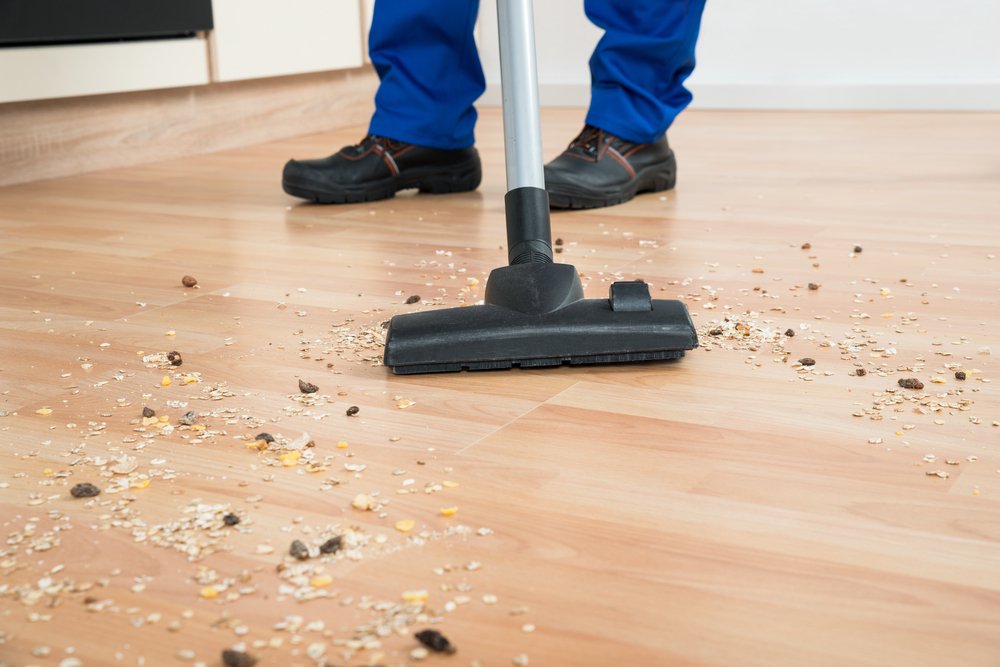
- Vacuum Cleaner: Preferably one with a HEPA filter to capture fine dust particles.
- Dust Shroud: Attach to your sander to minimize dust spread.
5. Safety Gear
- Dust Mask or Respirator: Protects lungs from fine dust.
- Safety Glasses: Shields eyes from debris.
- Ear Protection: Protects ears from the loud sanding equipment.
- Gloves: Prevents hand injuries and provides better grip.

6. Other Materials
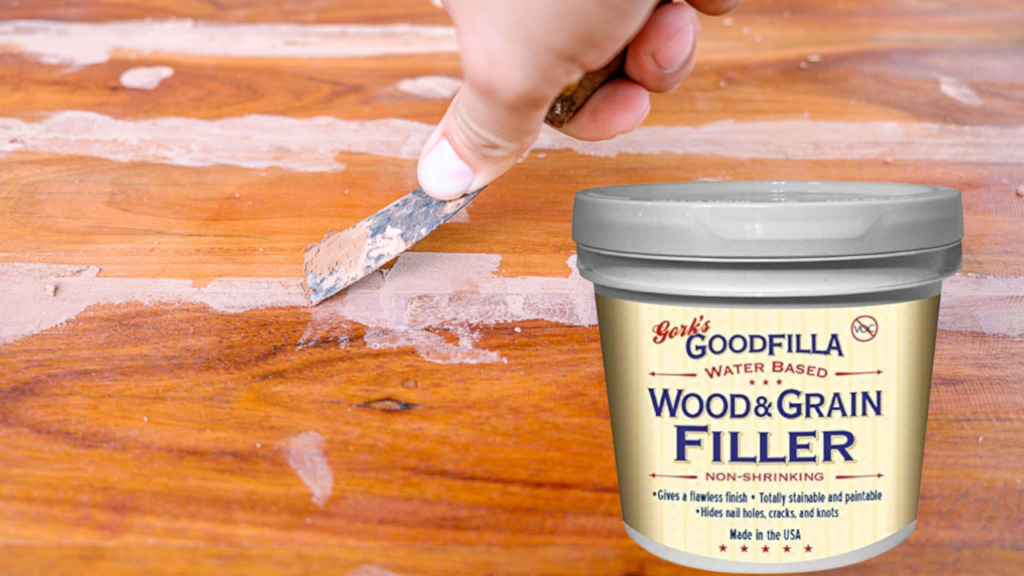
- Wood Filler: For repairing deep scratches or gouges.
- Tack Cloths: For wiping down the floor between sanding stages.
- Floor Finish: Polyurethane, oil, or wax, depending on your preference.
Preparation Before Sanding Hardwood Floors
Proper preparation is key to a smooth sanding process and optimal results.
1. Clear the Area
- Remove Furniture: Remove all furniture, rugs, and other items from the room.
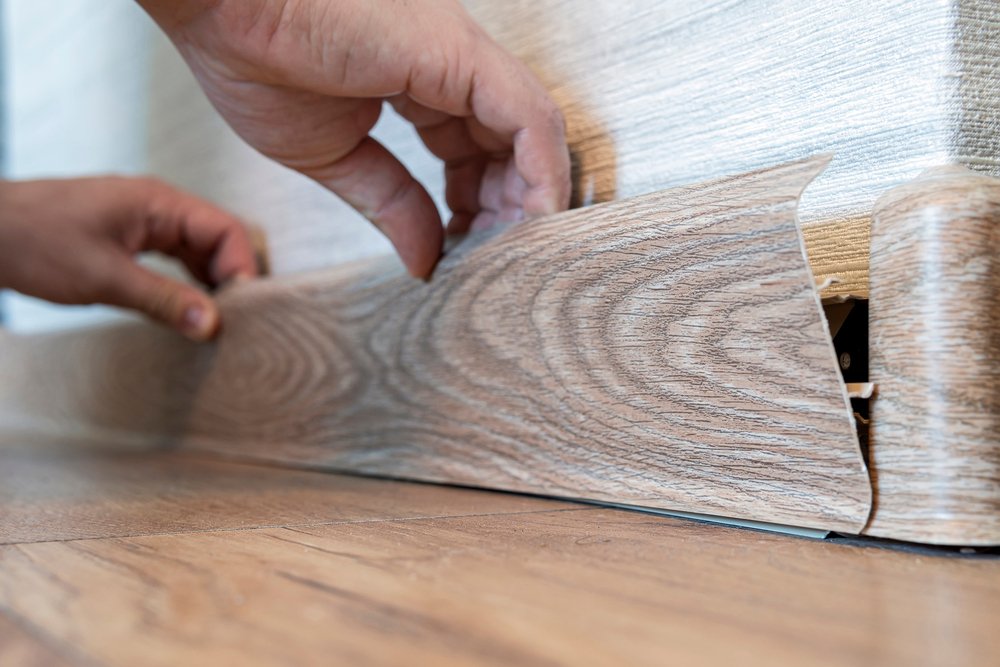
- Take Down Baseboards: If necessary, remove baseboards to access the floor edges.
2. Inspect the Floor
- Identify Damages: Look for cracks, deep scratches, or gouges.
- Plan Repairs: Determine the extent of repairs needed before sanding.

3. Clean the Floor
- Sweep or Vacuum: Remove all loose debris to prevent scratches during sanding.
- Mop the Floor: Ensure the surface is free from grease or sticky residues.

4. Ensure Proper Ventilation
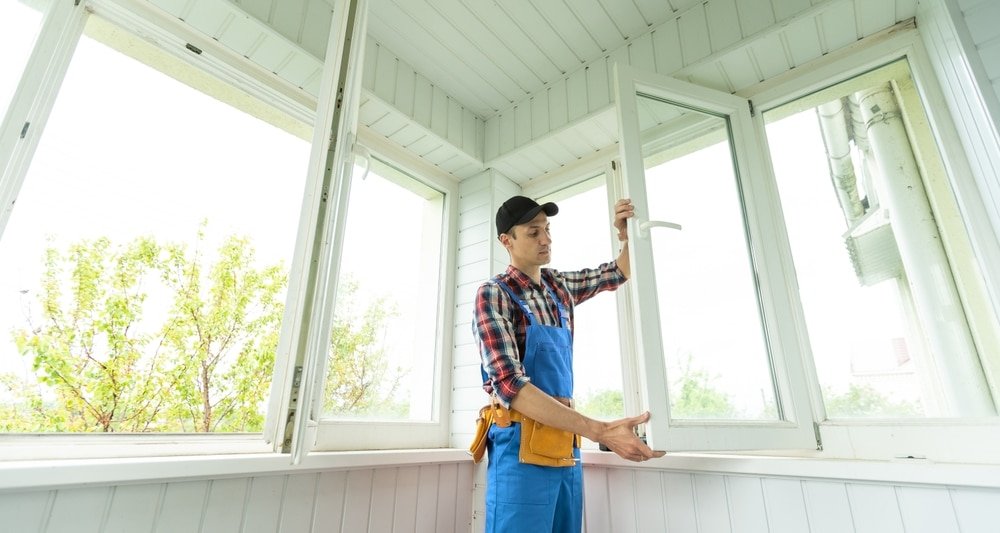
- Open Windows: Allow fresh air to circulate.
- Use Fans: Promote airflow, especially if using finishes that emit fumes.
5. Check for Moisture
- Moisture Levels: Ensure the floor is dry to prevent damage during sanding and finishing.

Step-by-Step Sanding Hardwood Floors Process
Follow these detailed steps to achieve professional-grade results.
1. Removing Furniture and Coverings
Start by clearing the entire room of furniture, rugs, and any other items. This provides unrestricted access to the entire floor, ensuring uniform sanding and preventing obstacles that could cause uneven wear or damage to both the floor and the furniture.

2. Inspecting and Repairing the Floor
Before sanding, carefully inspect your hardwood floor for any damages, such as deep scratches, cracks, or gouges.
- Fill Cracks and Gaps: Use a high-quality wood filler to fill in any cracks or gaps. Apply the filler with a putty knife, ensuring it penetrates deeply into the damaged areas.
- Sand Filled Areas: Once the filler has dried completely, lightly sand the repaired spots to ensure a smooth, even surface.

3. Choosing the Right Sandpaper Grit
Selecting the appropriate sandpaper grit is crucial for each stage of the sanding process.
- Initial Sanding (Coarse Grit 36-40): This stage removes the old finish and levels out any uneven surfaces. It requires coarse-grit sandpaper.
- Intermediate Sanding (Medium Grit 60-80): Smooth out the surface after the initial sanding to prepare it for the final sanding.
- Final Sanding (Fine Grit 100-120): This process creates a smooth surface ready for finishing, removing any remaining scratches from the previous sanding stages.
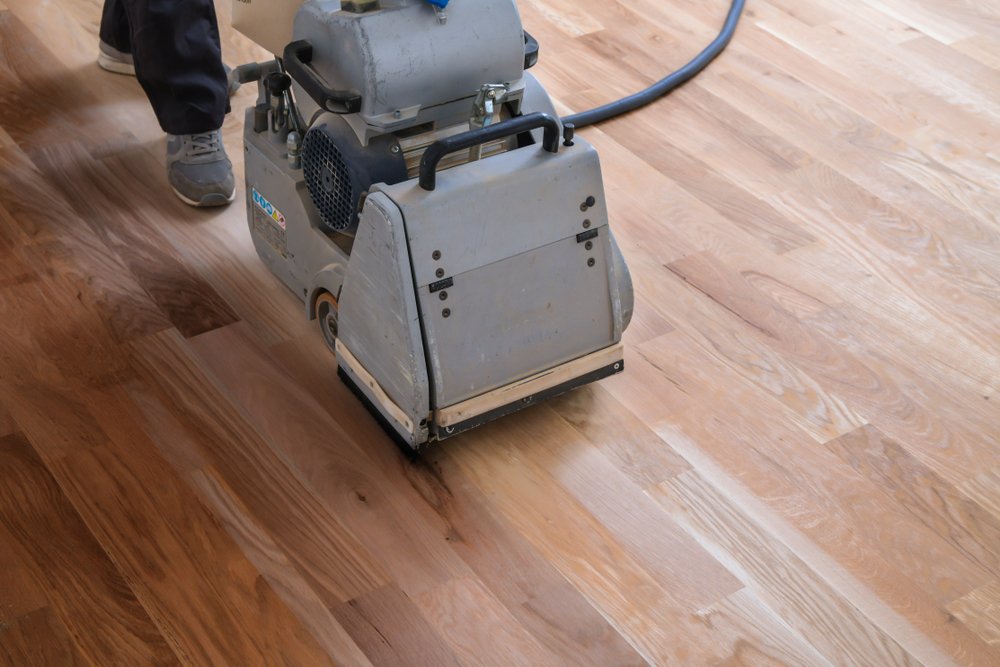
4. Sanding the Floor
a. Start with the Drum Sander
- Begin in a Corner: Start sanding in one corner of the room, moving the sander toward the wood grain.
- Overlap Strokes: Ensure each pass overlaps slightly with the previous one to avoid uneven spots.
- Maintain Steady Movement: Keep the sander moving steadily to prevent gouging or uneven sanding.
- Edge Conditions: Do not sand too close to walls to avoid creating deep grooves.
b. Use the Edge Sander for Borders
After the main area, use the edge sander to reach corners and edges where the drum sander cannot access.
- Sand Along the Edges: Move the edge sander along the perimeter, keeping the pace consistent.
- Blend with Main Area: Ensure the sanding transitions smoothly between the drum-sanded area and the edges.

5. Edge Sanding and Detail Work
- Hand Sanding: Use handheld sanding tools with appropriate grit sandpaper for tight corners or intricate details.
- Attention to Details: Carefully sand around any moldings, vents, or other fixtures to ensure a uniform finish.

6. Cleaning the Dust
After sanding, thoroughly clean the floor to remove all dust particles, which can interfere with the finishing process.
- Vacuum Thoroughly: Use a high-powered vacuum to remove the bulk of the dust.
- Mop the Floor: Use a damp mop or tack cloth to capture any remaining fine dust.
- Repeat if Necessary: Ensure the floor is completely free of dust before proceeding to finish.

Finishing Your Sanded Floors
Once sanding is complete, applying a finish protects the wood and enhances its appearance.
1. Choosing the Right Finish
- Polyurethane: Durable and available in various finishes (matte, satin, semi-gloss, gloss). Ideal for high-traffic areas.
- Oil-Based Finishes: Penetrate the wood, providing a natural look and feel. They may require more maintenance.
- Water-Based Finishes: Quick-drying with low odor, suitable for those sensitive to fumes.
- Wax: Offers a soft sheen and is easy to repair but less durable than other finishes.
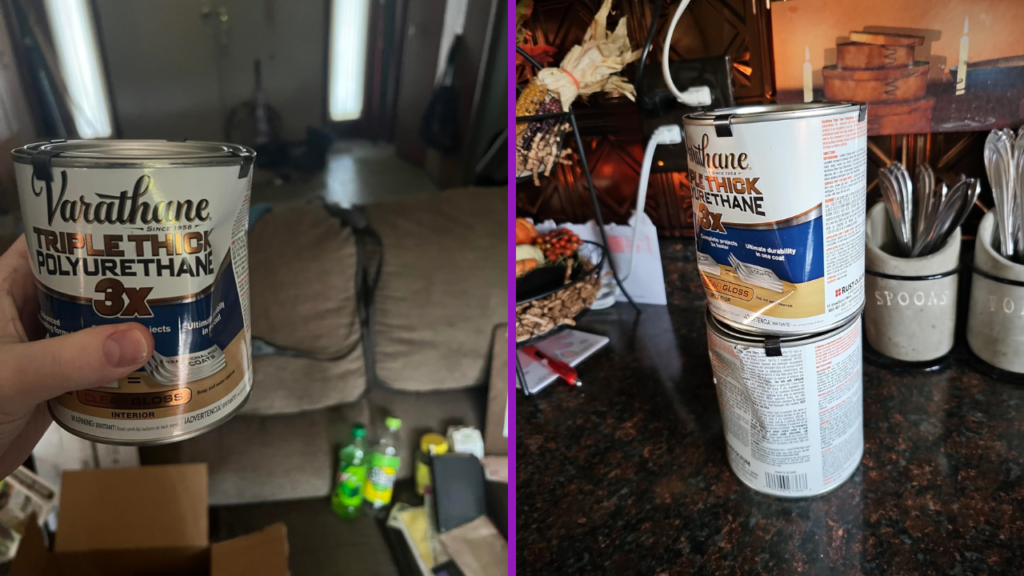
2. Applying the Finish
- Stir, Don’t Shake: Stir the finish gently to avoid introducing bubbles.
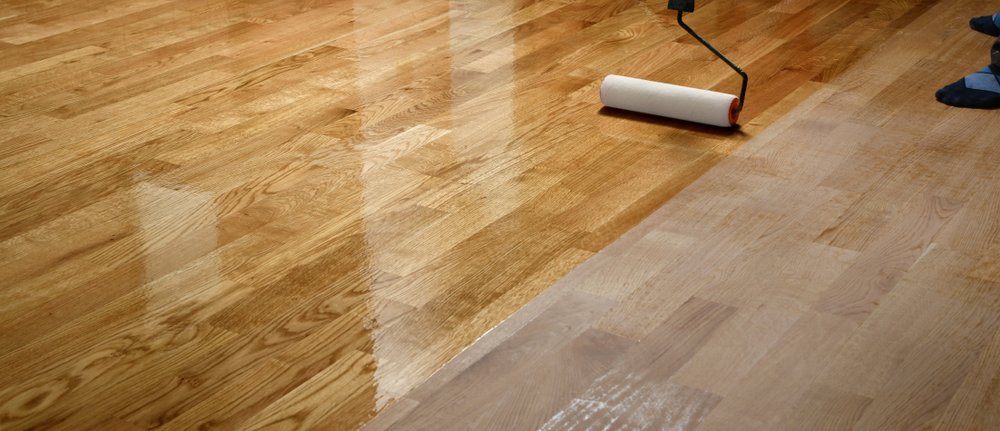
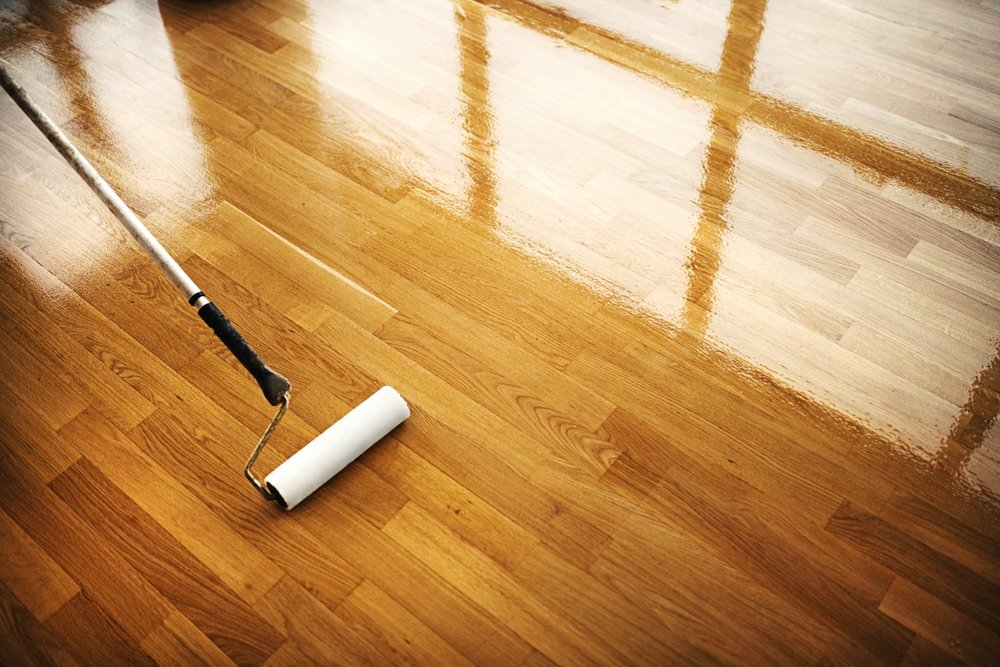
- Use the Right Applicator: Apply with a high-quality brush or roller, depending on the finish type.
- Follow the Grain: Apply the finish toward the wood grain for an even coat.
- Apply Thin Coats: Multiple thin coats are better than a single thick one to prevent drips and uneven drying.
- Allow Adequate Drying Time: Follow the manufacturer’s instructions for drying times between coats.
Maintenance Tips for Newly Sanded Floors
Proper maintenance ensures your newly sanded floors remain beautiful and durable.
1. Regular Cleaning
- Sweep or Dust Daily: Prevents scratches from dirt and debris.
- Mop Weekly: Use a damp mop with a wood floor cleaner to maintain shine.
- Avoid Excess Water: Protects against warping and damage.

2. Preventing Damage
- Use Furniture Pads: Protects the floor from scratches when moving furniture.
- Place Rugs in High-Traffic Areas: Reduces wear and tear in areas with heavy use.
- Trim Pet Nails: Minimizes scratches caused by pets.

3. Promptly Address Spills and Stains
- Wipe Spills Immediately: Prevents moisture damage and staining.
- Use Appropriate Cleaners: Ensure cleaners are suitable for your floor finish.

4. Refinishing When Necessary
- Monitor Floor Condition: Sand and refinish as needed to maintain appearance and protection.
- Avoid Over-Sanding: Be cautious not to remove too much wood over time.
Common Mistakes to Avoid
Avoid these pitfalls to ensure a successful sanding and finishing project:
1. Skipping Preparation Steps
- Importance of Cleanliness: Dust and debris can ruin the finish.
- Proper Repairs: Ensure all damages are repaired before sanding.
2. Using Incorrect Sandpaper Grits
- Sequential Grit Use: Progress through coarse to fine grits to achieve a smooth finish.
- Avoid Jumping Grits: Skipping steps can leave scratches or uneven surfaces.
3. Over-Sanding
- Even Pressure: Apply consistent pressure to prevent uneven sanding.
- Monitor Progress: Regularly check the floor to avoid removing too much material.
4. Inadequate Dust Removal
- Thorough Cleaning: Ensure all dust is removed before applying the finish to prevent imperfections.
- Use Proper Equipment: High-efficiency dust collection systems help minimize dust spread.
5. Rushing the Process
- Patience is Key: Allow adequate drying time between the sanding and finishing stages.
- Follow Instructions: Adhere to manufacturer guidelines for tools and finishes.
Safety Precautions
Sanding hardwood floors involves the use of powerful tools and chemicals. Safety must be prioritized to prevent accidents and health issues.
1. Wear Protective Gear
- Respirator or Dust Mask: Protects lungs from fine dust particles.
- Safety Glasses: Shields eyes from debris.
- Ear Protection: Guards against loud sanding equipment.
- Gloves: Prevents hand injuries and provides better grip.
2. Ensure Proper Ventilation
- Open Windows and Doors: Facilitates airflow and reduces dust concentration.
- Use Fans: Helps disperse fumes from finishes and maintains air circulation.
3. Handle Tools Safely
- Read Manuals: Understand the operation of each tool before use.
- Secure Tools: Ensure sanders are stable and properly maintained to prevent malfunctions.
4. Fire Safety
- Dispose of Rags Properly: Avoid leaving oily rags out, as they can spontaneously combust.
- Store Finishes Safely: Keep flammable materials away from heat sources.
Conclusion
Sanding hardwood floors is a rewarding project that can dramatically enhance the beauty and longevity of your flooring. By following this step-by-step guide, utilizing the right tools, and adhering to best practices, you can achieve professional-quality results right in your home. Remember to take your time, prioritize safety, and maintain your floors properly to enjoy their stunning appearance for years.
