A guide on creating custom felt pads from affordable materials.
DIY Felt Floor Protectors are a simple yet effective solution for maintaining the beauty and integrity of your home’s flooring. Whether your floors are hardwood, tile, or laminate, they are often subjected to daily wear and tear. From furniture scratches to scuff marks caused by moving items around, this inevitable damage can detract from the aesthetic appeal of your space and potentially lead to costly repairs. One effective way to combat these issues is by using felt pads. These little protective gems can prevent unsightly damage, allowing you to preserve your floors’ natural beauty.
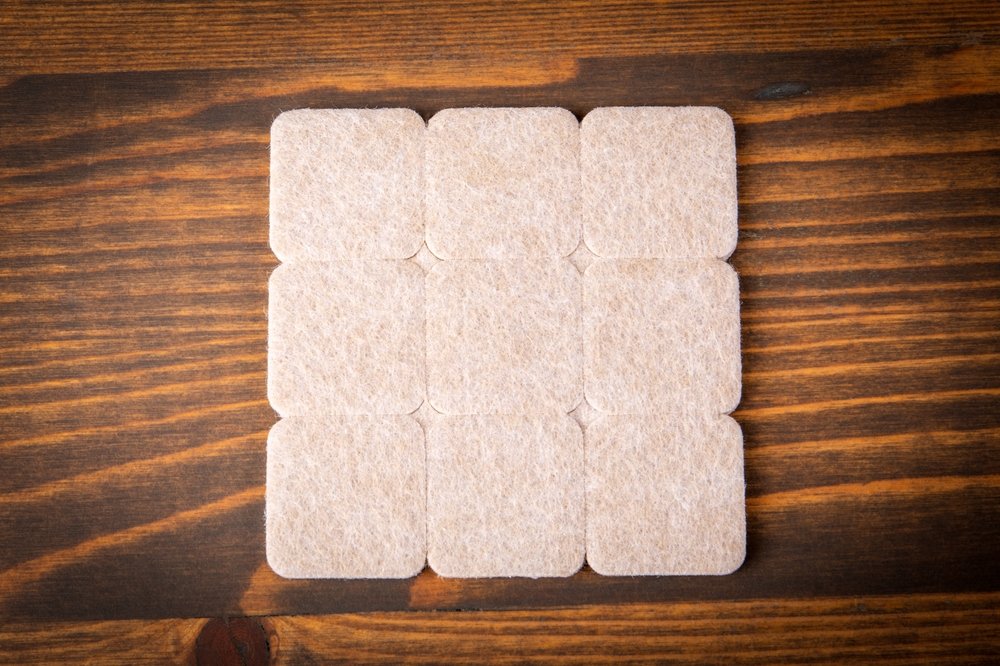
Felt pads serve as soft, durable cushions that can be attached to the bottom of furniture legs, creating a barrier between the furniture and the floor. While purchasing pre-made felt pads is an option, making your own provides an opportunity for customization, creativity, and cost savings. With just a few basic materials and tools, you can craft felt pads tailored to your furniture’s unique shape and style. This DIY approach not only allows for personalization but also ensures a perfect fit, offering better protection for your floors.
The benefits of using DIY felt floor protectors extend beyond merely preventing scratches and scuffs. These pads enable smoother movement by providing a soft surface for furniture to rest on, making it easier to rearrange or clean your space. No more struggling to slide heavy pieces of furniture across the floor! Additionally, felt pads can significantly reduce noise. If you’ve ever been annoyed by the sound of chairs scraping against the floor, you’ll appreciate how felt pads dampen those sounds, creating a quieter, more pleasant living environment.
Creating your own felt floor protectors is straightforward and requires minimal investment in materials. Felt sheets are readily available in various colors and thicknesses, allowing you to choose options that complement your decor. Adhesives can be used to ensure a strong bond between the felt and your furniture, and the cutting process is simple enough for even the most novice DIY enthusiasts. With just a little time and effort, you can produce effective floor protectors that look great and serve their purpose well.
In this blog post, we’ll take you through a detailed step-by-step guide on how to make your own DIY felt floor protectors. We’ll cover everything from measuring and cutting to attaching and maintaining your pads. Whether you’re a seasoned DIYer or just starting out, our easy-to-follow instructions will empower you to confidently tackle this project. By the end of this article, you’ll have all the knowledge you need to create beautiful, functional felt pads that will protect your floors for years to come.
So, if you’re tired of worrying about scratches and scuffs on your flooring and want to take a proactive approach to floor protection, join us as we delve into the world of DIY felt floor protectors. Not only will you enhance the longevity of your floors, but you’ll also enjoy the satisfaction of creating something unique and practical for your home. Let’s get started on this fun and rewarding DIY project!
The Importance of Floor Protection
Before we dive into the DIY process, let’s discuss why protecting your floors is so crucial:
1. Preventing Damage
Hardwood and tile floors are an investment in your home. Scratches and dents can detract from their beauty and lead to expensive repairs or refinishing. Felt pads create a barrier that absorbs the impact of furniture movement, reducing the risk of damage.
2. Ease of Movement
Moving furniture without pads can be challenging, especially when cleaning or rearranging your space. Felt pads allow you to slide furniture easily, making it more straightforward to keep your home tidy.
3. Noise Reduction
The sound of furniture scraping against the floor can be pretty annoying. Felt pads dampen this noise, leading to a quieter, more peaceful environment.
4. Cost-Effective
Purchasing pre-made felt pads can add up over time, especially if you have multiple pieces of furniture. By making your own, you save money while getting a custom fit for your needs.
Materials Needed for DIY Felt Floor Protectors
Creating your own felt pads requires minimal materials and tools. Here’s what you’ll need:
Materials:
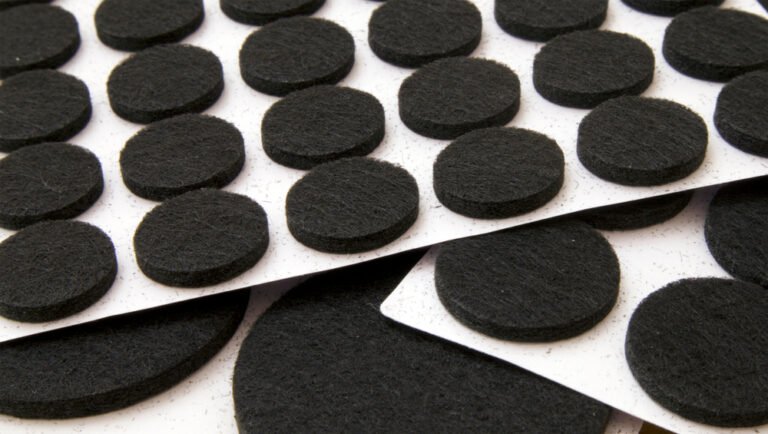
- Felt Sheets: Choose a thick, durable felt fabric. You can find various colors and thicknesses at craft stores or online.
- Adhesive: Depending on your preference, you can use craft glue, hot glue, or adhesive sheets.
- Scissors: Sharp scissors will ensure clean cuts.
- Pencil or Fabric Marker: This is for marking your felt before cutting.
- Measuring Tape or Ruler: To measure your furniture legs accurately.
- Optional: Non-slip rubber sheets for added grip.
Tools:
- Cutting Mat: To protect your surfaces while cutting.
- Craft Knife: For more precise cuts, especially if you’re working with thicker felt.
Step-by-Step Guide to Making DIY Felt Pads
Now that you have your materials ready, let’s walk through the steps to create your own felt pads.
Step 1: Measure Your Furniture Legs
The first step is to measure the dimensions of the furniture legs you wish to protect. Use a measuring tape to get the diameter or length and width of the legs, depending on their shape. Make a note of these measurements to ensure your felt pads fit properly.
Step 2: Choose Your Felt
Select the felt color and thickness that best suits your style and the décor of your room. Thicker felt provides better protection and durability, while thinner felt is easier to cut and shape. If you want to match your furniture or floor, consider using a neutral color.
Step 3: Mark the Felt
Using a pencil or fabric marker, mark the measurements of the felt pad on the sheet. If your furniture legs are round, you can trace around a circular object of the same size. For square or rectangular legs, simply mark the dimensions with a ruler.
Step 4: Cut the Felt
Carefully cut the felt along the lines you marked. If you’re using thick felt, a craft knife might be more effective than scissors for achieving clean edges. Be sure to cut slowly and steadily to avoid any mistakes.
Step 5: Add Adhesive
If you’re using adhesive sheets, peel off the backing and apply it directly to one side of your felt pad. If using craft glue, apply a thin layer to the surface that will attach to the furniture leg. Follow the glue manufacturer’s instructions for drying times and application methods.
Step 6: Attach the Felt Pads
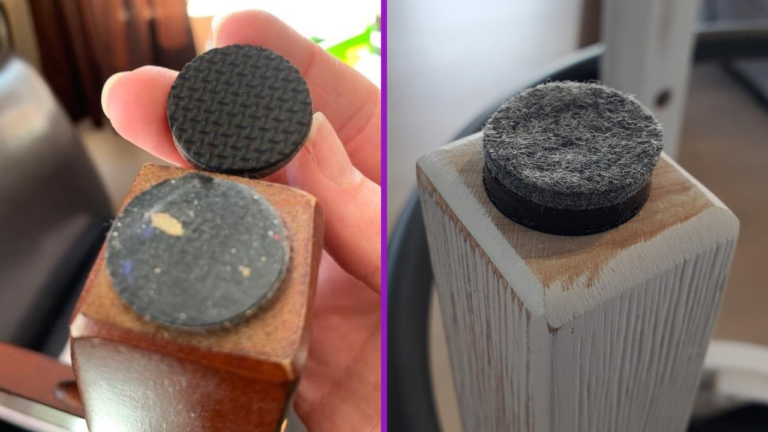
Carefully press the adhesive side of the felt pad onto the bottom of the furniture leg. Ensure it adheres well; if necessary, hold it in place for a few seconds. If you’re using hot glue, be cautious, as it can be very hot.
Step 7: Allow to Dry
If you used glue, allow the felt pads to dry completely before moving your furniture. This will ensure that they stay in place and provide the best protection for your floors.
Step 8: Test and Adjust
Once the glue is dry, gently move your furniture to test the felt pads. If they slide around or don’t adhere well, you may need to add more glue or replace them. Adjustments can ensure optimal performance and protection.
Additional Tips for Creating DIY Felt Pads
- Use Multiple Layers: If you have heavy furniture, consider using multiple layers of felt for added cushioning and protection.
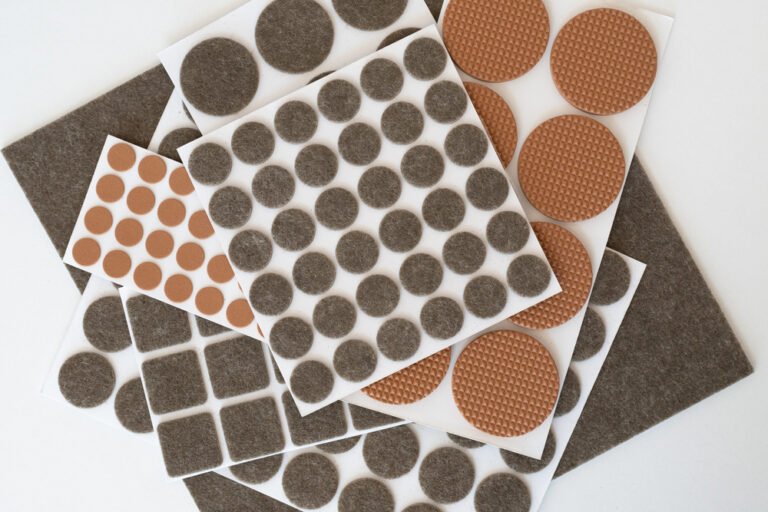
- Customize Shapes and Sizes: Don’t limit yourself to circles and squares. Get creative with different shapes that suit your furniture, such as rectangles for chair legs or larger pads for sofas.
- Non-Slip Options: For added grip, consider placing a non-slip rubber sheet under the felt pads. This is especially helpful for chairs and tables that are frequently moved.
- Seasonal Change: If you decorate seasonally, you might want to change the color of your felt pads to match your decor. It’s an easy way to refresh your space.
- Regular Maintenance: Check the felt pads regularly for wear and tear. Replace them as needed to maintain optimal protection for your floors.
Different Applications for DIY Felt Pads
While felt pads are primarily used for furniture legs, there are various other applications where they can come in handy. Here are some creative ideas:
1. Under Appliances
Placing felt pads under appliances like refrigerators, washing machines, and dishwashers can help prevent scratches on floors and reduce noise when the machines operate.
2. On Sliding Doors
Attaching felt pads to the bottom of sliding doors can minimize friction and protect the floor from damage.
3. On Decorative Items
Use felt pads on the bottom of decorative items like vases and picture frames to prevent scratches and make them easier to move when cleaning.
4. As Coasters
You can cut smaller felt pieces to use as coasters for drinks, protecting surfaces from condensation and heat.
5. For Musical Instruments
If you have a piano or other musical instruments, felt pads can protect the floor while allowing for easy movement when tuning or cleaning.
Conclusion
Making your own DIY felt pads is a simple, cost-effective way to protect your floors and maintain the beauty of your home. With just a few materials and a little time, you can create custom pads that suit your furniture and style. The benefits of using felt pads extend beyond floor protection; they also enhance the functionality of your living space. So, gather your materials and start this rewarding DIY project today!
By taking the time to protect your floors, you’ll not only preserve their beauty but also enjoy a quieter and more functional living environment.
