
Wooden floors bring character and warmth to any space but are prone to wear and tear. From minor scratches to deeper gouges, wooden floorboards can develop imperfections that, if left untreated, may worsen over time. Fortunately, wood putty and wood filler offer affordable and effective solutions for repairing these flaws, allowing homeowners to restore their floorboards without needing a complete replacement.
This comprehensive guide covers everything you need to know about using wood putty and wood filler for floorboard repair, including when to use each product, how to apply them, tips for choosing the right color, and best practices for achieving professional results.

1. Understanding Wood Putty and Wood Filler: Key Differences and Uses
Both wood putty and wood filler are designed to fill in gaps, cracks, and imperfections in wood surfaces, but they are formulated for different types of repairs and applications.
What is Wood Putty?
Wood putty, or plastic wood or wood paste, is a malleable, oil-based material that remains slightly flexible even after drying. Because of its flexibility, wood putty is ideal for minor surface repairs on finished wood, such as filling small cracks, dents, and surface scratches. It adheres well to wood with a finish, making it perfect for floors that have been stained, varnished, or sealed.
- Best for: Finished wood surfaces, small cracks, dents, and superficial imperfections.
- Consistency: Soft and malleable, similar to clay or playdough.
- Drying time: Longer drying time depends on the thickness applied and the product used.

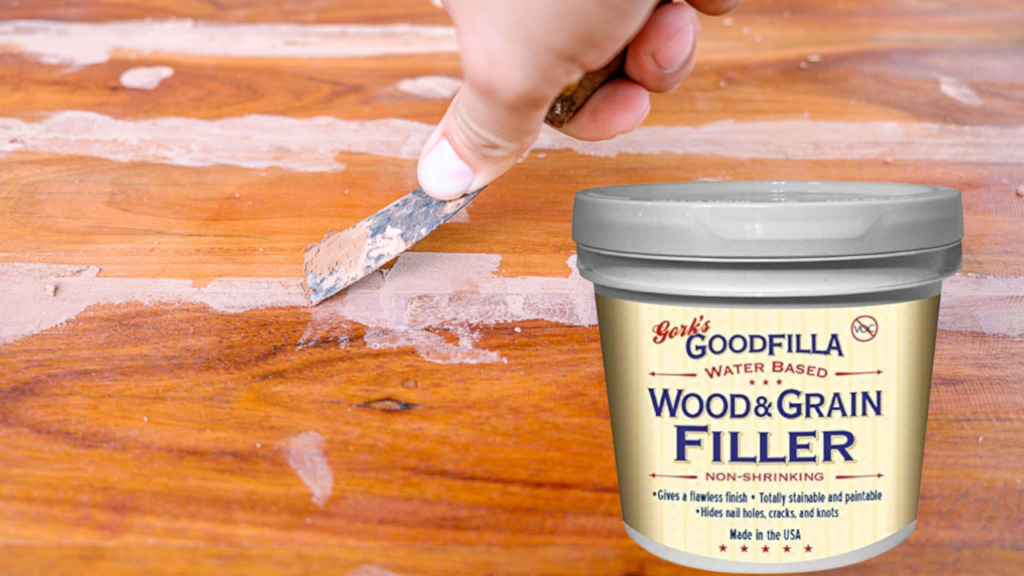
What is Wood Filler?
Wood filler, often water-based, is made to dry to a hard finish, making it ideal for deeper cracks, holes, or areas that require a sturdy fill. Unlike putty, wood filler dries hard and can be sanded, stained, or painted to match the surrounding wood. It’s typically used on unfinished wood, as it doesn’t adhere well to surfaces that are already sealed.
- Best for: Unfinished wood, larger holes, gaps, and structural repairs.
- Consistency: Thicker than wood putty; resembles a paste.
- Drying time: Generally faster, though some products may vary.
Understanding these differences is critical to choosing the right product for your floorboard repair project.
2. When to Use Wood Putty vs. Wood Filler for Floorboard Repairs
To get the best results, assess the type of damage on your floorboards and match it to the appropriate product. Here are some guidelines to help you decide:
- Minor scratches or dents on finished wood: Wood putty is ideal for these minor repairs since it adheres well to finished surfaces.
- Deep gouges, larger holes, or cracks in unfinished wood: Wood filler works better for structural repairs, especially in areas that need to be sanded and stained afterward.
- Gaps between floorboards: Wood filler is more effective for filling gaps because it dries hard, providing stability between floorboards.
Using the correct product based on the nature of the damage will help you achieve a seamless, durable repair.
3. Step-by-Step Guide: How to Use Wood Putty for Floorboard Repairs
Wood putty is perfect for smaller imperfections and offers a straightforward solution for minor repairs on finished floors. Follow these steps for successful wood putty application:
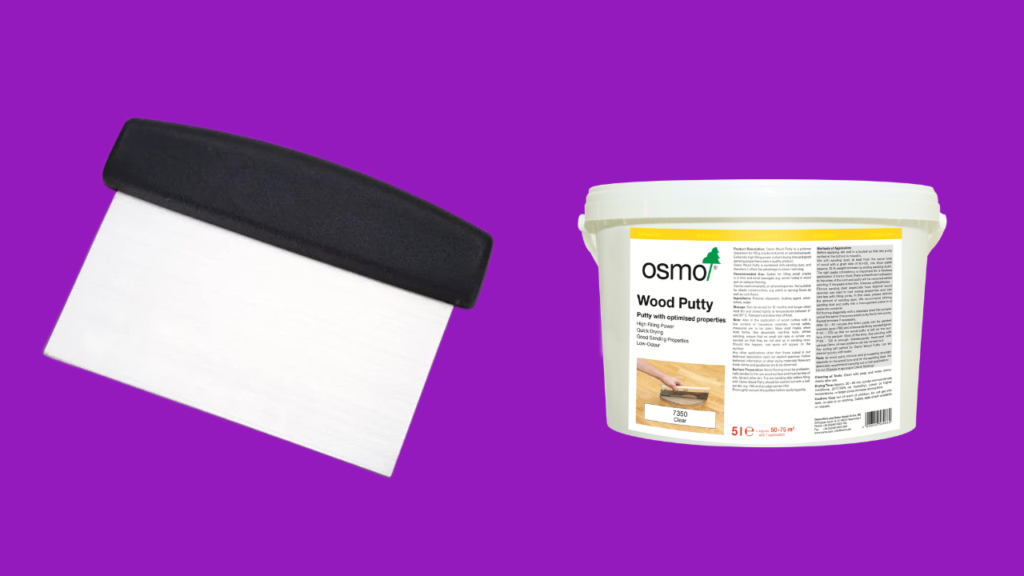
Tools and Materials Needed:
- Wood putty (color-matched to your floorboards)
- Putty knife or small scraper
- Soft cloth or sponge
- Sandpaper (fine grit)
- Floor polish or finish (optional)
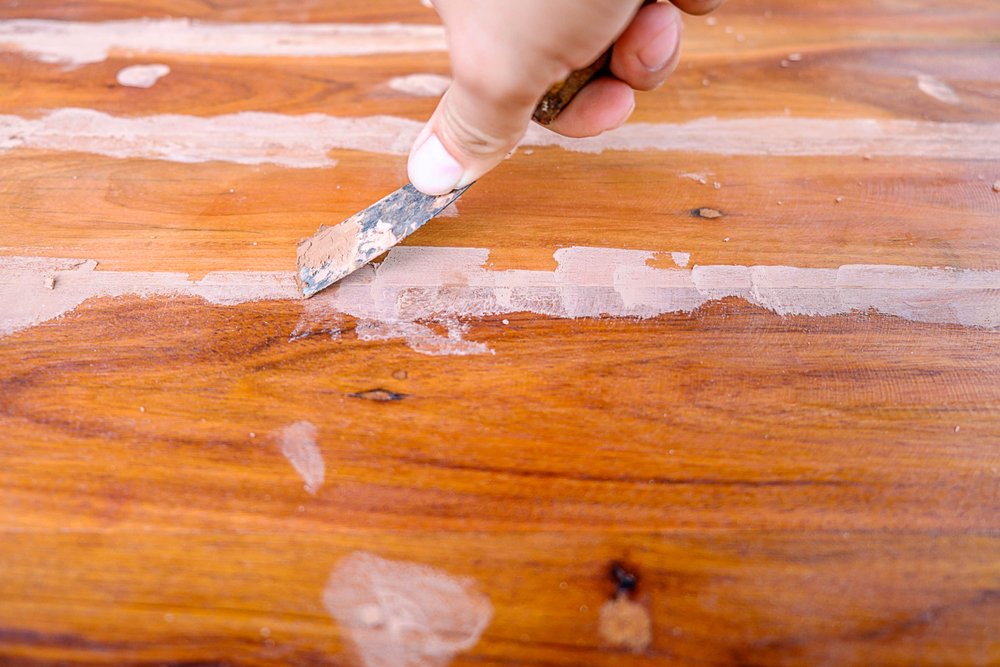
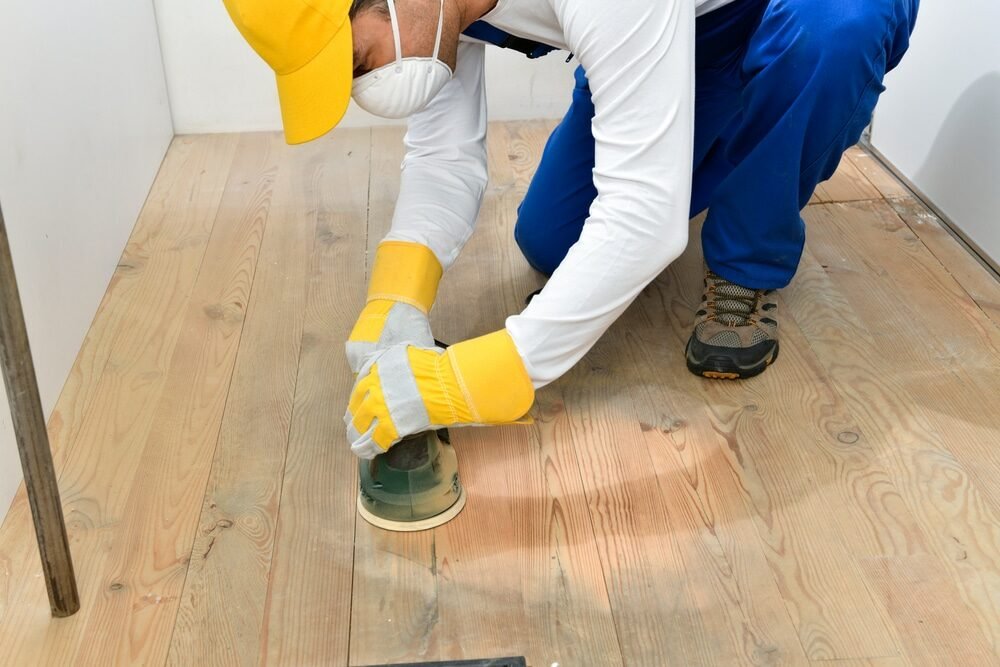
Step 1: Clean the Area
Begin by thoroughly cleaning the area to remove dust, dirt, and debris that may affect the adhesion of the putty. Use a gentle wood-safe cleaner and a soft cloth.
Step 2: Apply the Putty
Apply a small amount of wood putty directly to the scratch, dent, or crack. Use a putty knife to press it into the area, ensuring it fills the entire space.

Step 3: Smooth the Surface
Once the putty is in place, use the edge of the putty knife to smooth out the surface. Wipe away any excess putty with a soft cloth or sponge, not smearing it on the surrounding wood.
Step 4: Allow the Putty to Dry
Wood putty has a longer drying time, so it must dry completely before proceeding. Check the product’s drying time, ranging from a few hours to a day.
Step 5: Lightly Sand the Area (if necessary)
If the putty isn’t level with the surrounding wood, lightly sand it using fine-grit sandpaper. Be cautious, as sanding finished wood can remove the surrounding finish.
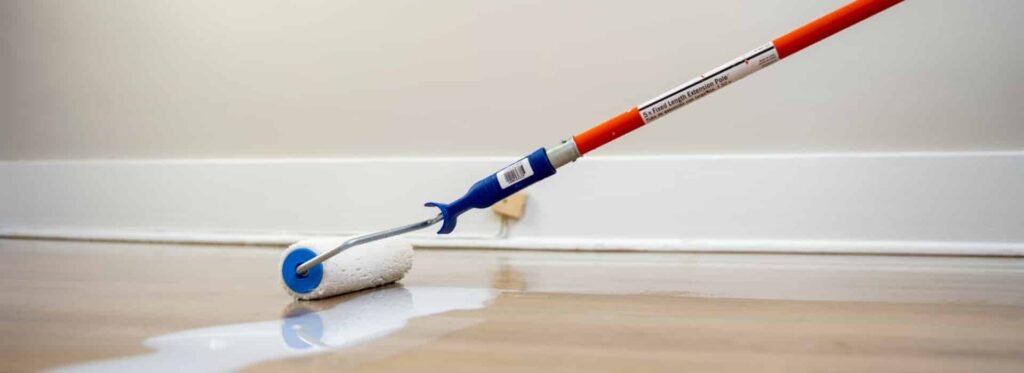
Step 6: Apply a Finish (optional)
For a more polished look, apply a matching floor finish to the repaired area, which will help the putty blend seamlessly with the rest of the floor.
4. Step-by-Step Guide: How to Use Wood Filler for Floorboard Repairs
Wood filler is a versatile solution for more extensive repairs, providing a durable, hard fill once dried. Here’s how to apply wood filler for effective floorboard repair:

Tools and Materials Needed:
- Wood filler (color-matched or stainable)
- Putty knife or spatula
- Sandpaper (fine and medium grit)
- Stain or paint (if needed)
- Floor sealant or finish (optional)

Step 1: Prepare and Clean the Area
Start by cleaning the damaged area, ensuring it is free from dust and dirt. Use a utility knife to remove any loose wood pieces around the damage for larger cracks or holes.

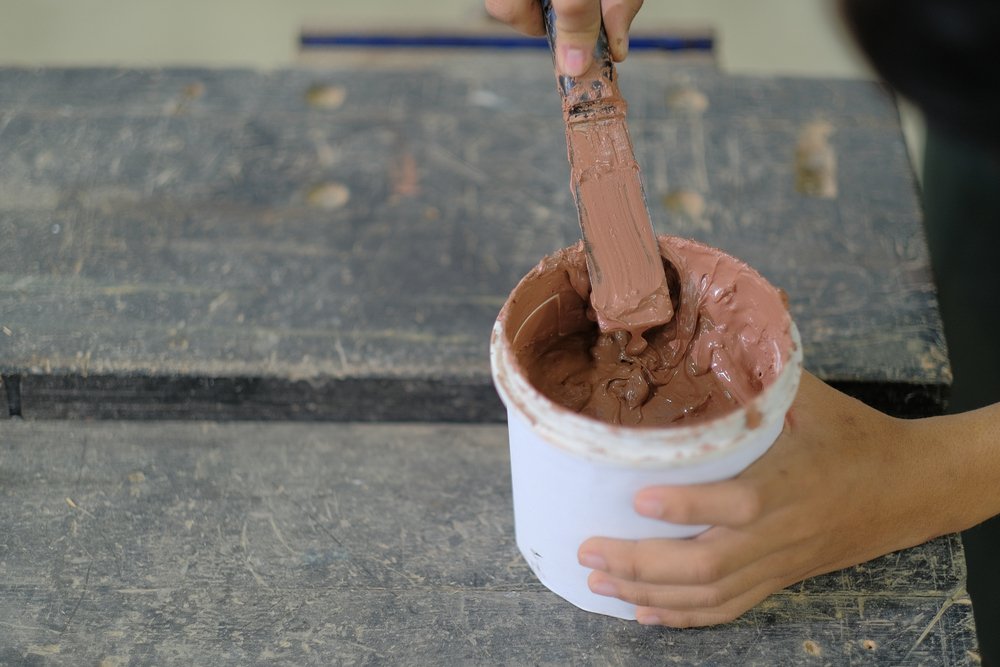
Step 2: Apply the Wood Filler
Using a putty knife, scoop up a small amount of wood filler and press it firmly into the crack, hole, or gouge. Spread the filler across the damaged area, filling it and removing air pockets.
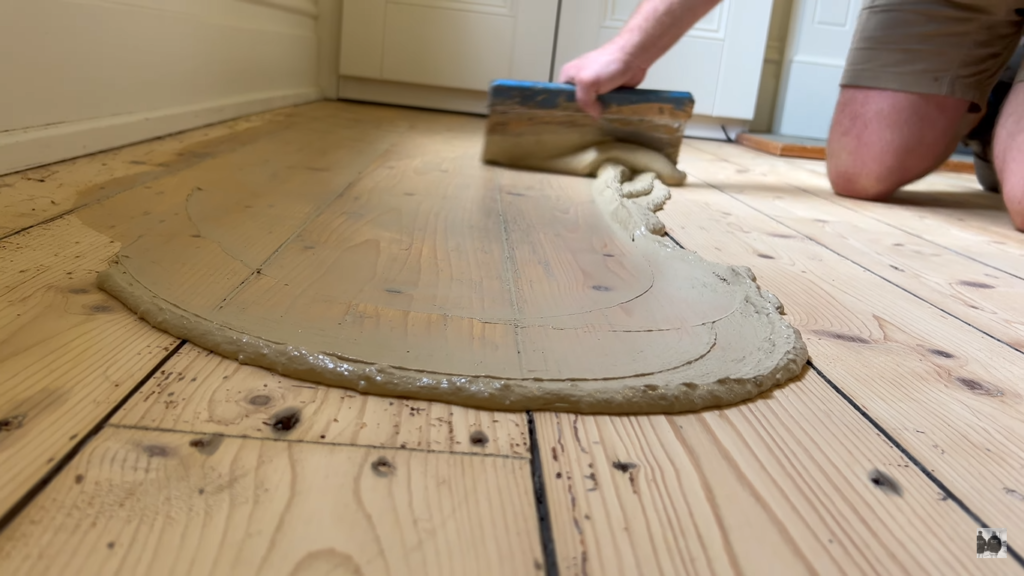
Step 3: Smooth and Level the Surface
After applying the filler, use the putty knife to smooth and level it with the surrounding floorboards. Wipe away any excess filler with a cloth, ensuring it’s evenly spread.
Step 4: Allow the Filler to Dry
Wood filler generally dries faster than wood putty, but it’s essential to allow adequate drying time, usually a few hours. Check the product instructions for specific guidance.
Step 5: Sand the Repaired Area
Once the filler has dried completely, sand it to create a smooth surface. Start with medium-grit sandpaper, then use fine-grit sandpaper to achieve a seamless finish.
Step 6: Stain or Paint (if needed)
If the wood filler doesn’t match the floor color, you can stain or paint it to blend with the surrounding floor. Choose a stain that matches your floor for a cohesive look.
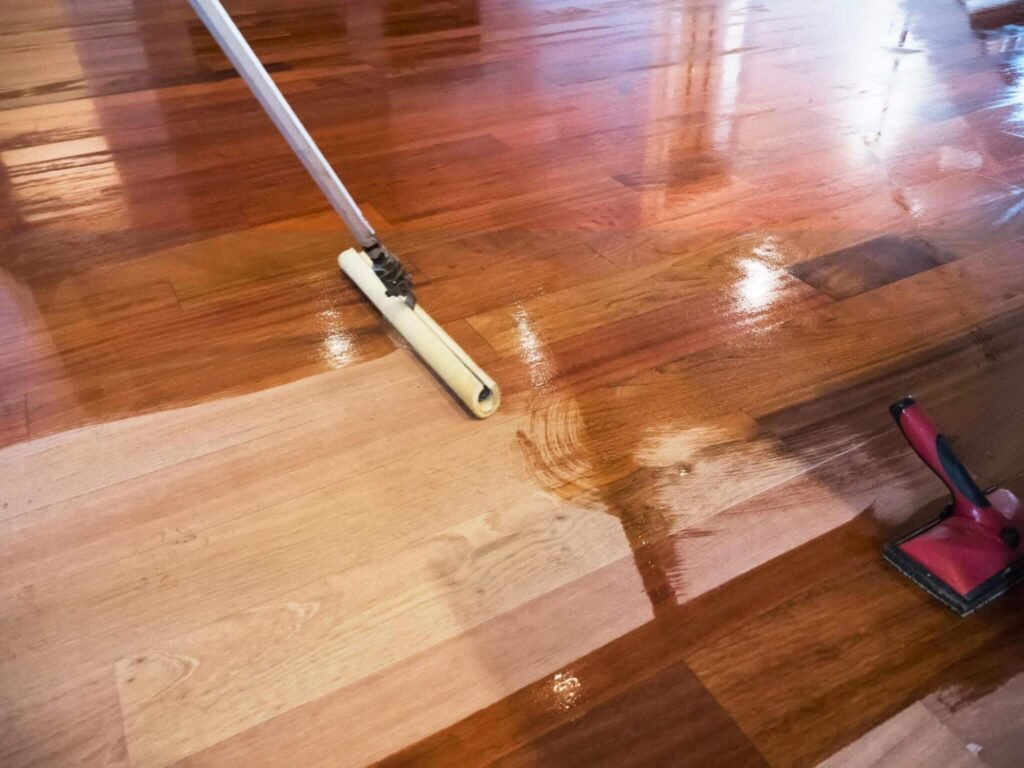
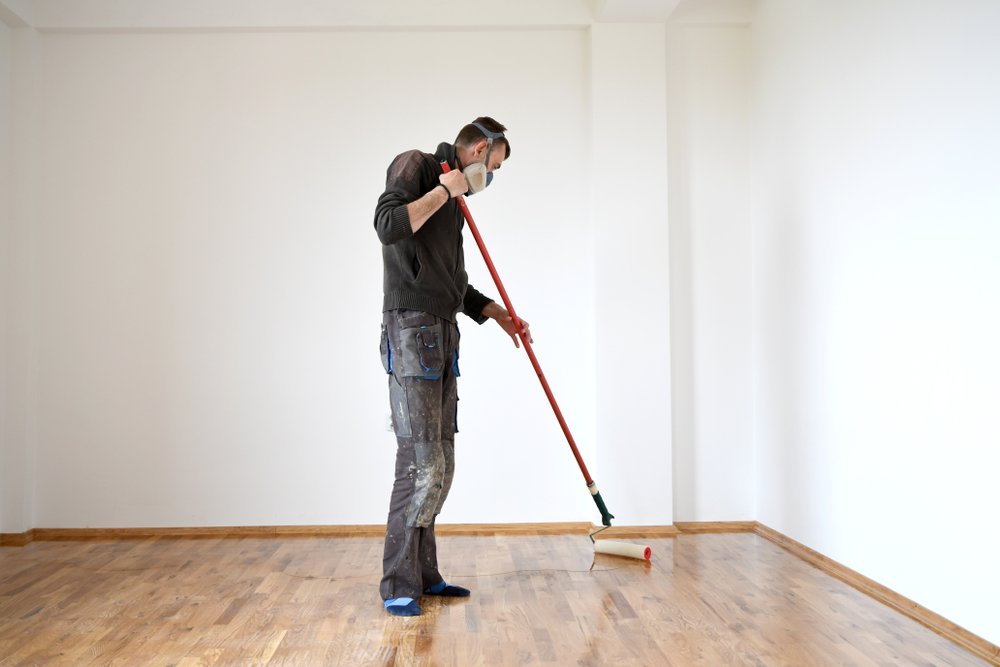
Step 7: Seal the Repaired Area (optional)
Apply a floor sealant or finish over the repaired area for added protection. This will enhance the durability of the filler and provide a smooth finish.
5. Tips for Choosing the Right Color of Wood Putty or Filler
One of the challenges in wood floor repairs is choosing a color that matches your floorboards. Here are some tips:
- Test in an inconspicuous area: If possible, test the putty or wood filler color on a hidden section of the floor to ensure it matches.
- Use stainable filler if unsure: For difficult-to-match colors, apply a stainable filler and a matching stain once dry.
- Consider color blending: In some cases, mixing two shades of wood filler or putty can help achieve a closer match.
6. Common Mistakes to Avoid When Using Wood Putty and Filler
Avoiding common mistakes will help ensure a successful repair:
- Skipping the prep: Clean and prep the area before applying wood putty or wood filler.
- Overfilling the gap: Applying too much product can lead to uneven drying and excess sanding.
- Ignoring the drying time: Rushing through the process can weaken the repair.
- Not sanding properly: Sand the area carefully to avoid damaging the surrounding floor finish.
7. Maintenance Tips to Prevent Future Floorboard Damage
Once you’ve repaired your floorboards, take steps to maintain them and prevent future damage:
- Use rugs and mats: Place rugs in high-traffic areas to minimize wear.
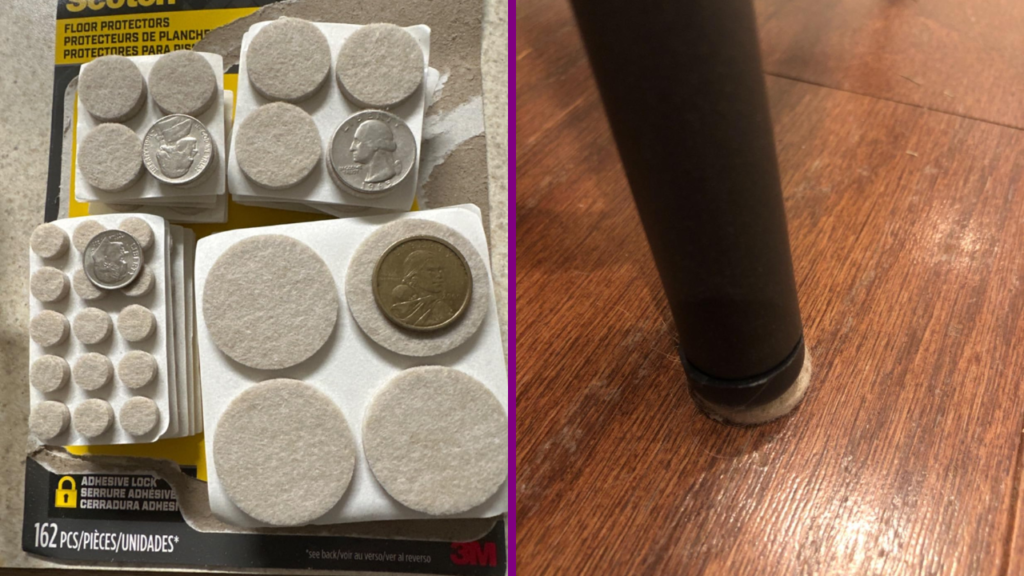
- Add felt pads to furniture: Prevent furniture from scratching the floor by adding felt pads to the legs.
- Clean regularly: Dirt and debris can scratch the floor, so sweep or vacuum regularly.
- Control humidity: Fluctuations in moisture can cause wood to expand and contract, leading to cracks.
Conclusion
Repairing floorboards with wood putty and wood filler is a cost-effective and efficient way to restore the beauty of your wood floors. Following this guide, you can tackle various types of floor damage, from minor surface imperfections to deeper cracks and holes. Remember, the key to a successful repair is choosing the right product for the job, preparing the area correctly, and taking your time to apply and finish the product smoothly. With some effort, your floors can look as good as new, bringing lasting warmth and character to your space for years.