Wood floor staining is an excellent way to transform the appearance of your hardwood surfaces, allowing you to customize the colour and enhance the natural beauty of the wood grain. Whether you’re looking to refresh an existing floor or installing new hardwood, the right stain can make all the difference in achieving a stunning, polished look. However, with so many stain options available—from light, natural tones to rich, dark hues—selecting the perfect colour can be overwhelming. In this guide, we will explore the ins and outs of wood floor staining, including tips on choosing the right shade, techniques for application, and ways to achieve a flawless finish.
Achieving the perfect colour and finish for your wood floors requires the right stain and an understanding of the application process and the unique characteristics of different wood types. Factors such as wood species, grain pattern, and even the age of the wood can influence how the stain interacts with the surface. By arming yourself with knowledge about the staining process, you can ensure that your floors look beautiful and stand the test of time. In this article, we will walk you through essential techniques for staining wood floors, common mistakes to avoid, and tips for maintaining that perfect finish for years to come.

Table of Contents
What is Wood Floor Staining?
Wood staining is a process that involves applying a colourant to the surface of the wood to enhance its natural beauty and protect it from wear and tear. Stains penetrate the wood fibres, altering their colour while allowing the natural grain to shine. Unlike paint, which creates a solid barrier, stains are semi-transparent, giving your wood a more natural look.

Why Stain Wood Floors?
Wood Floor Staining serves several purposes:
- Aesthetic Appeal: Staining can enhance the natural beauty of the wood, bringing out its grain and texture. It allows you to choose a colour that complements your decor and style.
- Protection: Stains often contain protective elements that can help guard against moisture, UV rays, and everyday wear. This protection can prolong the life of your flooring.
- Customization: Staining allows you to customize the look of your floors. You can choose a colour that matches your furniture, walls, or overall design theme.
- Resale Value: A well-stained and maintained floor can increase the resale value of your home, making it more appealing to potential buyers.
Types of Wood Stains
Before diving into the wood floor staining process, it’s essential to understand the different types of wood stains available. Each type offers unique characteristics that can affect the final look of your floor.

1. Oil-Based Stains
Oil-based stains are among the most popular options for wood floors. They penetrate deeply into the wood, providing rich colour and durability. Here are some key features:
- Colour Depth: Oil-based stains offer a wide range of colour options and create a deep, rich finish.
- Durability: They are known for their durability and resistance to wear and tear, making them suitable for high-traffic areas.
- Drying Time: These stains typically have a longer drying time, requiring 6-8 hours to dry to the touch and up to 24 hours for full curing.
- Cleanup: Cleaning up after using oil-based stains requires mineral spirits or paint thinner, which can be more challenging than water cleanup.
2. Water-Based Stains
Water-based stains are popular due to their quick drying time and low odour. They are an excellent choice for those looking for a more environmentally friendly option. Here are their characteristics:
- Quick Drying: Water-based stains dry quickly, usually within 1-2 hours, allowing you to complete your project faster.
- Low VOCs: They contain fewer volatile organic compounds (VOCs), making them a healthier choice for indoor use.
- Colour Options: While they offer a range of colours, water-based stains may not provide the same depth as oil-based stains.
- Cleanup: Cleanup is easy with soap and water, making it more convenient than oil-based options.
3. Gel Stains
Gel stains are thicker and designed to sit on the wood rather than penetrate deeply. They are an excellent choice for achieving a uniform colour, especially on woods with varied grain patterns.
- Thick Consistency: The gel consistency makes it easy to control application, reducing the risk of streaks or blotching.
- Versatility: Gel stains can be used on raw and finished wood surfaces.
- Drying Time: Gel stains usually have a moderate drying time, similar to oil-based stains.
4. Stain and Finish Products
Some products combine staining and finishing in one step. These products can save time but may not provide the same level of protection as separate stain and finish applications. They are suitable for light-duty areas or when a quick solution is needed.
Choosing the Right Color
Selecting the right colour for your wood floors is crucial in staining. The colour you choose will significantly impact your space’s overall look and feel. Here are some factors to consider:
1. Wood Type
Different wood species absorb stains differently, affecting the final colour. For example, oak typically absorbs stain well and offers rich, deep colours, while pine may appear lighter and more muted. Always test your stain on a scrap piece of the same wood to see how it will turn out.
2. Existing Decor
Consider your existing furniture, wall colours, and overall decor style. Choose a stain colour that complements these elements rather than clashes with them. If your space has many warm tones, opt for a stain that enhances those hues.
3. Desired Ambiance
Think about the mood you want to create in your space. Darker stains can create a more formal, elegant feel, while lighter stains can make a room more casual and open.
4. Trends vs. Timelessness
Trends in home decor can change quickly. While it might be tempting to choose a trendy colour, consider a more timeless option that will remain appealing for years.
5. Sample Testing
Always test your chosen stain on a small, inconspicuous area of your floor before committing to the entire project. This testing will show how the stain interacts with your wood and environment.
Preparing Your Floors for Staining
Proper preparation is crucial for achieving a flawless finish. Here are the steps to prepare your wood floors before staining:
1. Clean the Surface
Begin by thoroughly cleaning your wood floors. Remove all furniture and vacuum or sweep away dust and debris. A clean surface ensures that the stain adheres properly.
2. Sanding
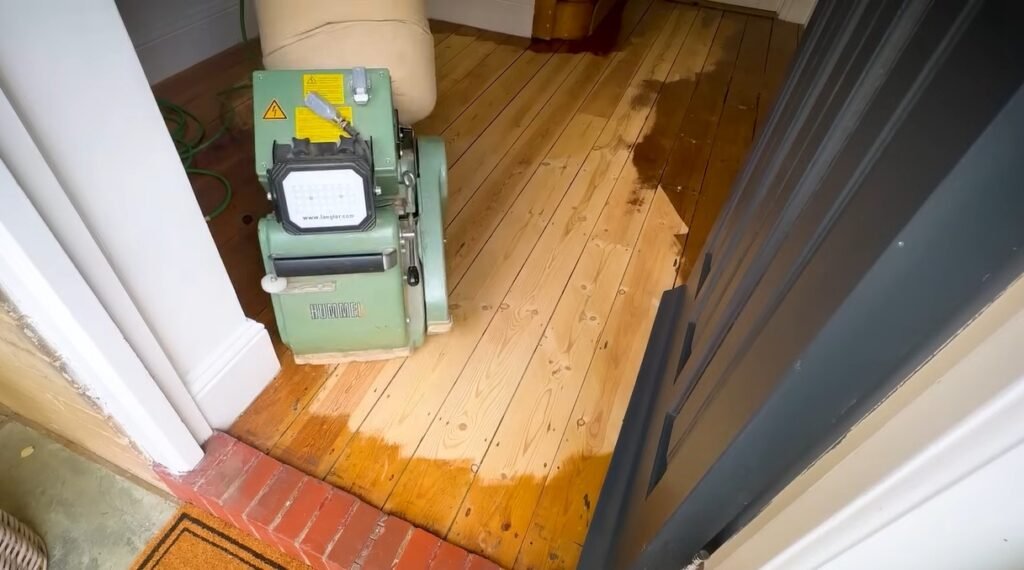
If your floors are already stained or finished, sanding must remove the old finish and prepare the surface for new stain. Use a floor sander with varying grits (starting with a coarse grit and moving to a finer one) to achieve a smooth surface. Be sure to sand the floor toward the wood grain to avoid scratches.

3. Repair Any Damage
Inspect your floors for damage, such as dents, scratches, or loose boards. Repair these issues before proceeding with the staining process to ensure a uniform finish.
4. Remove Dust
After sanding, vacuum the floors again to remove any dust created during the sanding process. Follow up with a damp cloth to ensure all particles are gone. Allow the floor to dry completely.
5. Gather Materials
Before starting, gather all the necessary materials, including:
- Stain (oil-based or water-based)
- Applicator (brush, rag, or foam applicator)
- Sandpaper (various grits)
- Mineral spirits (for oil-based stains)
- Gloves and safety goggles
- Rags for wiping off excess stain
- Sealant or finish
The Staining Process
Once your floors are prepared, you can begin the staining process. Here’s a step-by-step guide to achieving the perfect colour and finish:
1. Choose the Right Day
Select a day with good weather and moderate humidity for staining. Avoid very humid or rainy days, as these conditions can affect the drying time and finish.
2. Apply the Stain
- Test Application: Test the stain on a small area to ensure you like the colour.
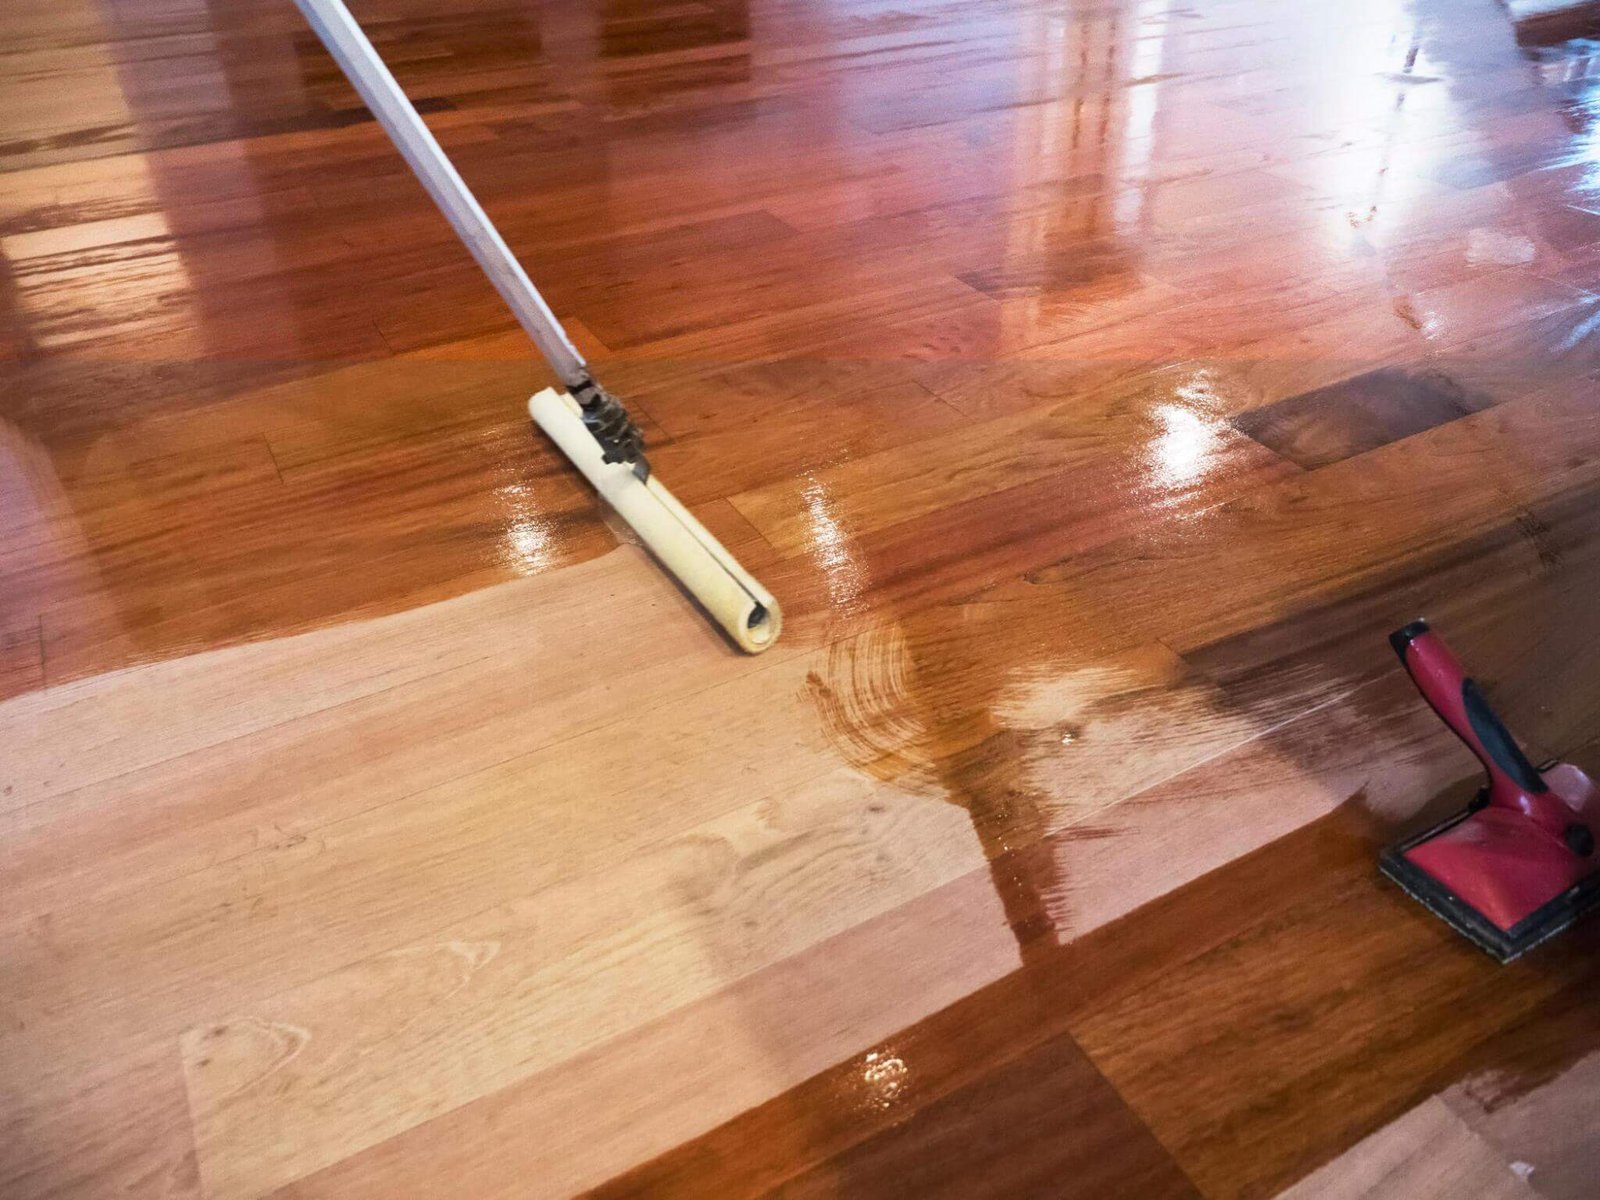
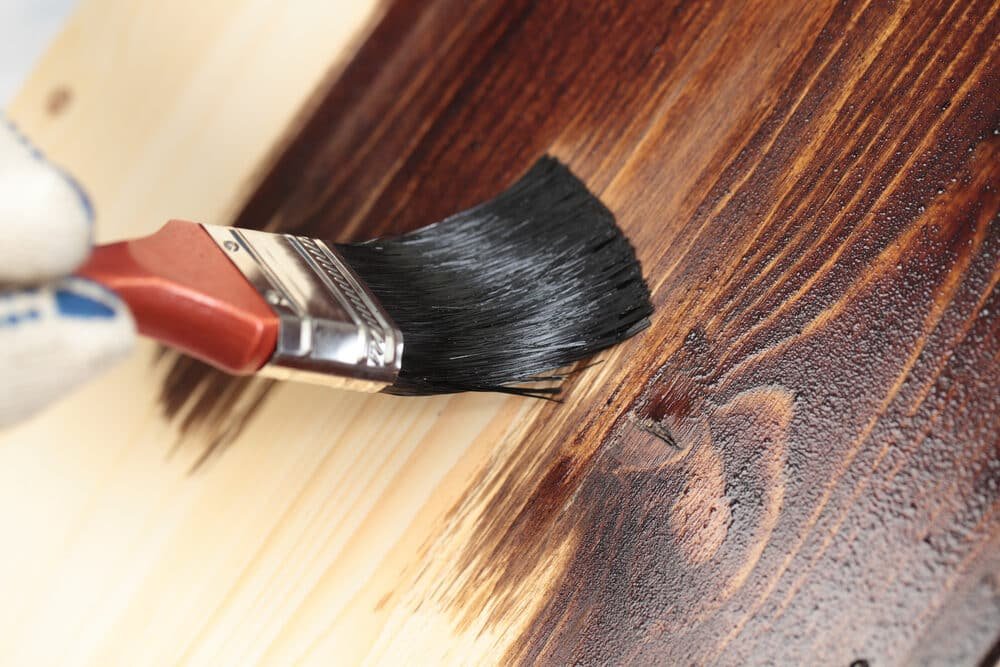
- Stain Application: Apply the stain using an applicator (brush, rag, or foam), working in small sections. Always follow the wood grain to ensure even coverage.
- Control Overlap: Avoid overlapping areas, as they can appear darker. Work methodically to maintain a consistent look.
3. Wipe Off Excess Stain
After applying the stain, allow it to sit for a few minutes (follow the manufacturer’s instructions) before wiping off the excess with a clean rag. This step is crucial for achieving the desired colour intensity.
4. Let it Dry
Allow the stain to dry according to the manufacturer’s instructions. This typically ranges from a few hours to overnight, depending on the type of stain used.
5. Apply Additional Coats
If you desire a deeper colour, you can apply additional coats of stain. Ensure each coat is completely dry before applying the next.
6. Seal the Stain
Once you achieve the desired colour, it’s time to seal the stain. A good sealant protects the wood from moisture, scratches, and UV rays. Choose a sealant that complements your stain (oil-based or water-based) and follow the manufacturer’s instructions for application.
- Apply Sealant: Use a clean applicator to apply the sealant, working in the direction of the grain.
- Drying Time: Allow the sealant to dry completely before walking on the floor or replacing furniture.
Maintaining Your Stained Wood Floors
Once your wood floors are stained and sealed, proper maintenance is essential for preserving their beauty and longevity. Here are some maintenance tips:
1. Regular Cleaning
Sweep or vacuum regularly to remove dirt and debris. Use a damp mop with a wood floor cleaner to clean the surface without damaging the finish.
2. Avoid Excess Water
Water can damage wood floors, leading to warping and discolouration. Always use a damp mop rather than soaking the floor.
3. Use Furniture Pads
Protect your floors from scratches by using furniture pads under heavy items. This simple step can prevent damage caused by moving furniture.
4. Reapply Finish
Over time, the finish on your stained wood floors may wear down. Reapply a sealant or finish as needed, typically every 3-5 years, depending on the traffic in your home.
5. Address Damage Promptly
If you notice scratches or dents, address them promptly to prevent further damage. Light scratches can often be repaired with a wood floor touch-up marker, while more serious damage may require sanding and refinishing.
Conclusion
Wood floor staining is an art that beautifully merges skill, knowledge, and creativity. The process involves understanding the various stains available, selecting the right colour, and preparing your floors meticulously to achieve a stunning finish. Each stain offers unique characteristics—oil-based stains provide deep penetration and rich colour, while water-based stains are faster drying and low in odour. Gel stains are another option, offering excellent control over the application. Proper preparation, including sanding and thorough cleaning, is essential to ensure the stain adheres correctly, delivering a smooth, even finish. Regular maintenance, such as cleaning and periodic refinishing, will help keep your stained floors looking vibrant for years.
The choice of colour plays a significant role in transforming the look and feel of your space. Whether you desire a classic walnut tone or a modern grey finish, selecting the right shade can dramatically impact your home’s atmosphere. Factors such as the wood species, existing decor, and the amount of natural light in the room should influence your decision. Testing samples on a small area of your floor can help you visualize how different stains interact with the wood grain, enabling you to make a more informed choice.
For those new to the process, staining can seem daunting, but it becomes an enjoyable and rewarding task with the right approach. Whether you’re a seasoned DIY enthusiast or a first-time stainer, careful planning and execution are key. Start by gathering the necessary tools, including brushes, rags, and protective gear, and ensure you have a well-ventilated workspace. Following a step-by-step guide will help demystify the process, making it easier to achieve professional-looking results.
Ultimately, the satisfaction of transforming your wood floors through staining is a worthy endeavour that enhances your living environment. A beautifully stained floor adds value to your home and reflects your style and creativity. As you embark on this rewarding project, remember that patience and attention to detail will pay off, resulting in stunning floors that become a focal point in your home. Happy staining!


